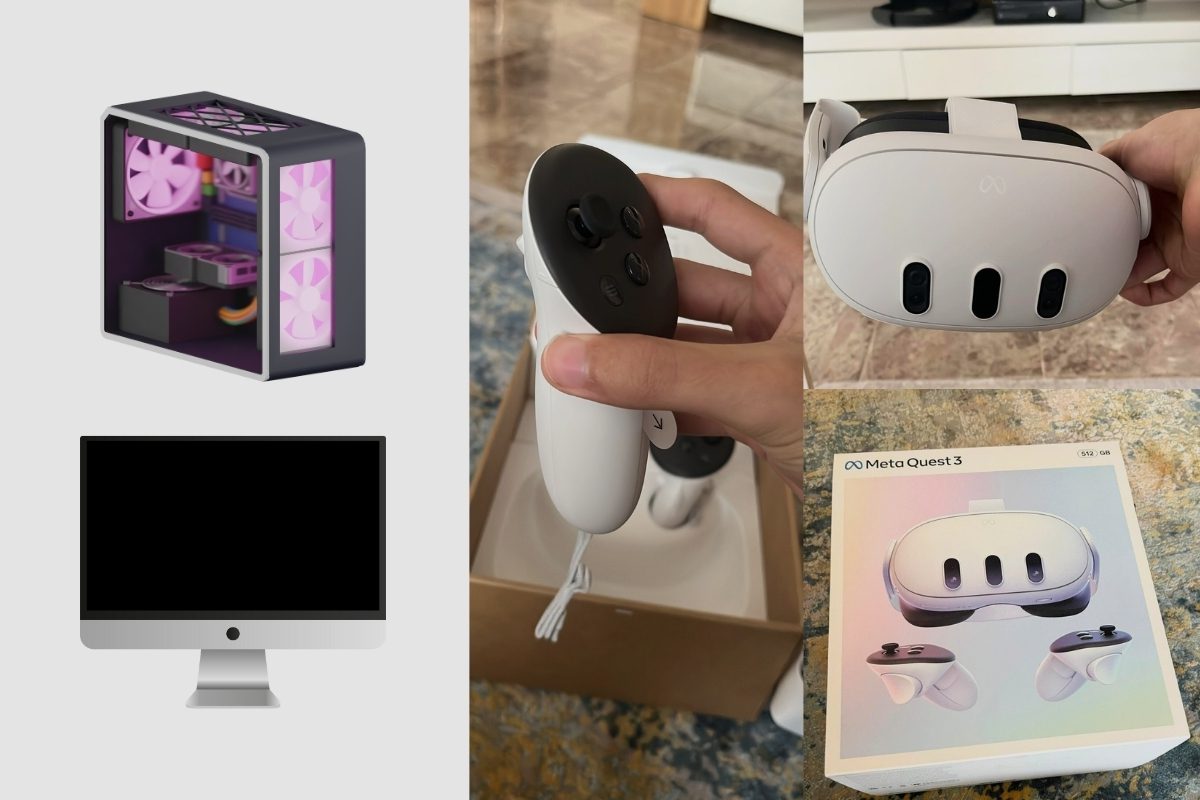
The Meta Quest 3 is a completely standalone device that doesn’t need any other device to work. It can work all on its own. While you can connect it to a PC to improve its performance, it is not dependent on the PC to work and can work independently of other devices.
So, if you’ve been looking to get a Meta Quest 3 console but are concerned that it may require a PC or an external power source to function properly, you’ve come to the right place because you can learn everything there is to know about the Meta Quest 3 as a standalone console, which is a powerful headset designed for gaming and having fun.
Do you Need a PC for Meta Quest 3?
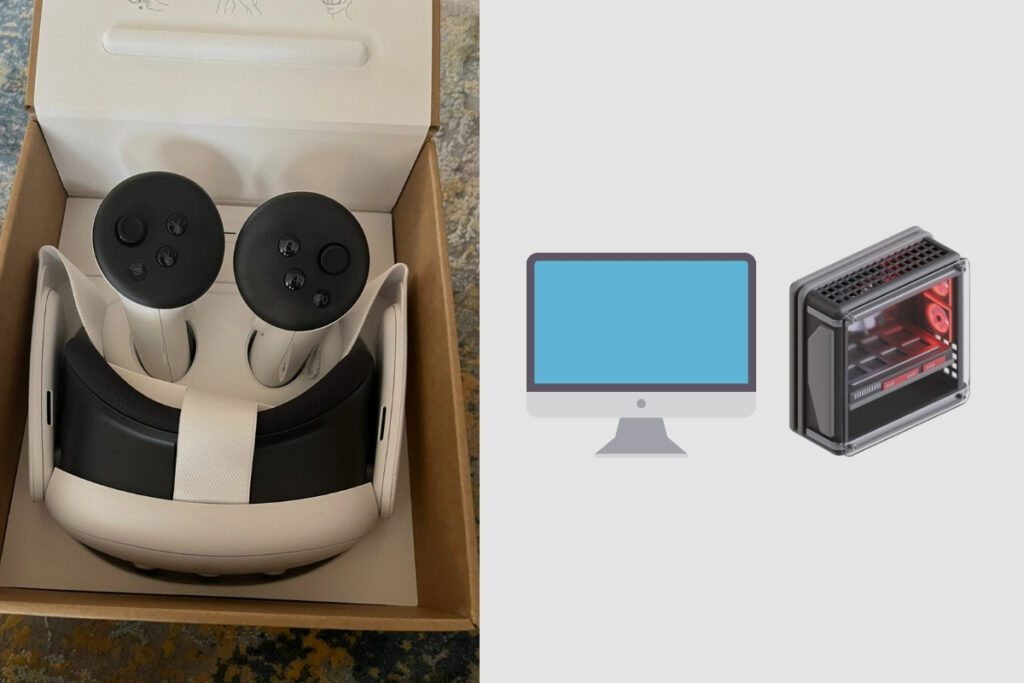
No, you do not need a PC to use the Meta Quest 3. This is because the Meta Quest 3 is a multifaceted, robust standalone VR headset that provides a diverse array of immersive experiences without requiring a PC. This implies that users have the opportunity to experience virtual reality gaming, movie viewing, and web browsing with some of the best picture quality on the market, all through a device that doesn’t need any extra equipment.
Although the Quest 3 can be used on its own, it also allows you to connect it to a PC, unlocking an even more immersive and captivating experience. Users can utilise features such as Air Link and the Quest 2 Link cable to seamlessly connect their headset to a PC, providing access to an extensive library of games and experiences from platforms like Oculus Rift and Steam VR. This allows for even better graphical quality and the ability to play PC-exclusive games.
It’s crucial to remember that the Meta Quest 3’s essential features do not require a PC to function. From the box, the headset offers an immersive experience with hours of battery life, simple controller movements, and a high-resolution display.
For those who enjoy playing games or want to learn more about virtual reality, the Meta Quest 3 provides a strong and convenient stand-alone solution. And now you can experience the future of gaming and beyond with it. With its advanced technology and intuitive design, the Meta Quest 3 opens up a world of possibilities for both casual and serious gamers alike. Beyond gaming, there are numerous Meta Quest 3 applications beyond gaming, such as immersive educational experiences and virtual social gatherings, allowing users to connect and collaborate in innovative ways. Whether you’re exploring fantastical worlds or diving into a new learning adventure, the Meta Quest 3 is poised to redefine how we interact with digital content. With its advanced features and impressive graphics, the Meta Quest 3 has been receiving positive feedback from gamers and tech enthusiasts alike. In numerous meta quest 3 reviews, users highlight its ergonomic design and vast library of immersive titles, making it accessible for both newcomers and seasoned players. Whether you’re exploring fantastical worlds or engaging in virtual fitness, this headset promises an unmatched experience that pushes the boundaries of what’s possible in gaming.
How to get Steam on Meta Quest 3 Without a PC
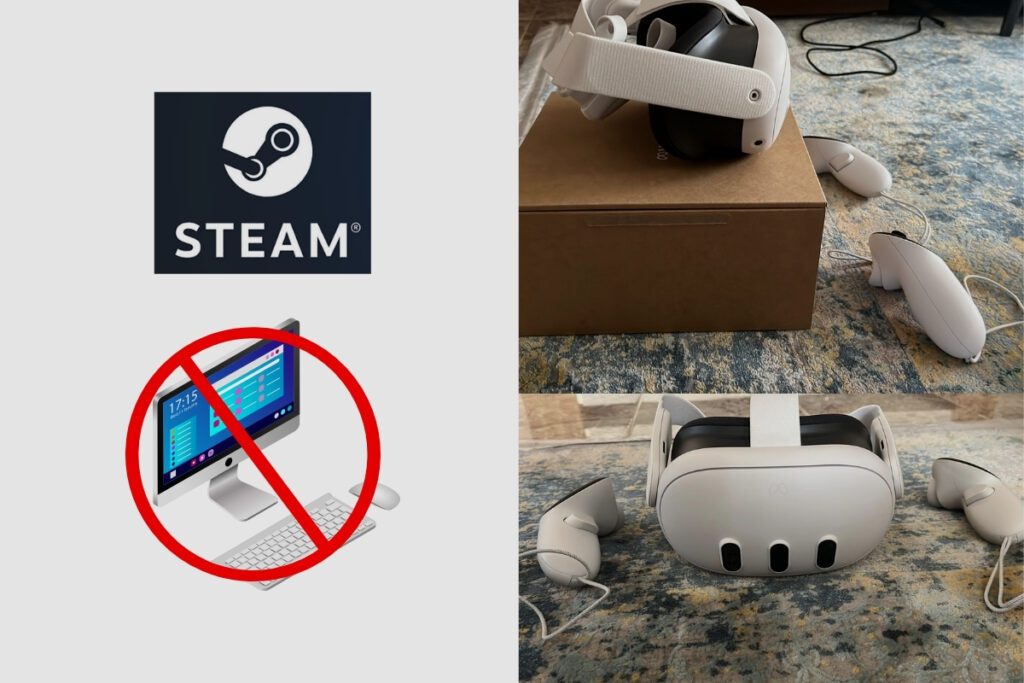
Without a PC, there are two methods to connect your Meta Quest 3 to Steam. The first method entails either downloading the Shadow PC software or the Plutosphere app to your phone.
Nevertheless, making Steam work on your Meta Quest 3 demands the use of a couple of alternative methods, which can be quite intricate. But if you have some patience, you can make your Meta Quest 3 and Steam operate nicely together without a PC.
Let’s start with PlutoSphere
Plutoshpere is a cloud streaming service that lets users stream virtual reality (VR) games via their virtual cloud PC, which is powered by AWS, by using the Steam VR store that comes pre-installed on the app. PlutoSphere offers users a virtual PC that they can access monthly through cloud computing. Users will be able to stream PC games onto their VR headsets using their cloud technologies.
PlutoSphere Requirements
To get started with PlutosSphere, make sure you have a 5 GHz Wi-Fi 6 router and that your headset is linked to it. To see if your VR headsets are linked to your WiFi, go to the settings menu on the left-hand menu of the headset, select your Wi-Fi connection, and connect to your router.
To stream VR games without interruptions, you need a minimum internet bandwidth of 50 Mbps. This ensures a fast and stable connection, which reduces delays and lag. On the Quest 3, you can check your internet speeds by visiting speedtest.net and starting a speed test to see how fast your internet is.
Make sure to check if your PING to an AWS region is at least 75 ms or below. For an easy way to test this on your Meta Quest 3, simply visit cloudping.Cloud/AWS and allow it to conduct the PING speed test. CloudFront results won’t be considered, so anything below 75 ms should be fine.
How to Create a PlutoSphere Account
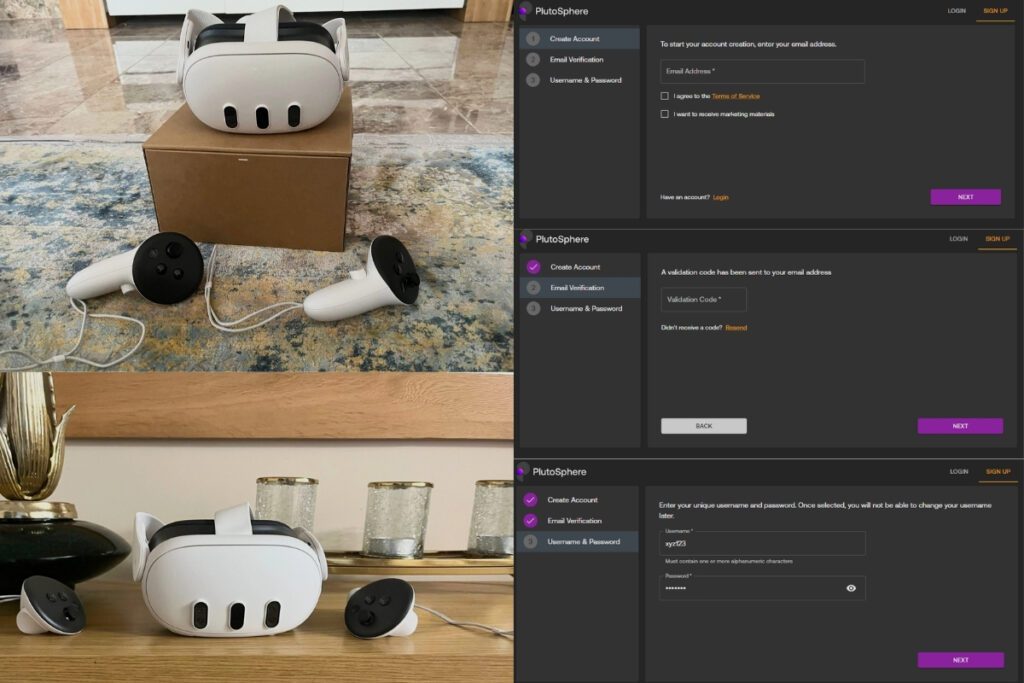
To create a PlutoSphere account, simply visit the official PlutoSphere website or click on this convenient link: dashboard.pluto.app. Before proceeding, it is important to disable any ad-blockers on your browser to ensure smooth access to the PlutoSphere platform.
Once your account is successfully created, you can effortlessly log in to the main dashboard. To verify your account, kindly provide your phone number and enter the code you received via text message.
You must confirm that you possess Pluto tokens; if you do not, you can purchase them by selecting the “Get Tokens” button. After filling out your Pluto login, you can purchase tokens for $2, which will grant you 600 tokens, or roughly an hour’s worth of use. When you have any tokens, they will be visible in the upper-right corner of your dashboard.
After that is finished, you can return to the Pluto dashboard and select the “Start” button. After that, your virtual PC ought to be built with all the apps you need to launch SteamVR immediately. This process may take ten to fifteen minutes, but you may monitor its progress by using the information bar, which displays the words “booting up” and “connecting.”
On your Meta Quest 3, you must download and install the PlutoSphere app. Connect your Quest to your PC using a USB-C cable to accomplish this. Then, start SideQuest and ensure that it is connected to your PC. Then, in your browser, search for PlutoSphere, and then download and install it on your quest by clicking the “Download app” button. Then wait for it to finish. Then look through your installed programmes and look for PlutoSphere. It has been downloaded when you see the PlutoSphere package.
Then you will need to go back to your Pluto dashboard on your phone or tablet and check if the status has changed to “connected.” If it has, then you are ready to go. The next thing you will have to do is click the button with the little computer icon on it.
Then your virtual PC should launch in a separate browser tab, which should load within 30 seconds. You should receive a nice welcome message, which you can close. After you finish, you will have a Windows PC with a blue bar on the left. You can click it to access editing options for your virtual PC, such as adjusting video quality for VR. There’s also a button at the bottom of the bar to bring up the keyboard if you need to type something.
Launch Steam on your virtual browser, followed by Steam VR, so that it may operate with your VR headset. Then, go to Steam and download and install the game that you want to play. After that, you may put on your VR headset and run Plutosphere by going to “Apps,” clicking the dropdown, selecting “unknown sources,” and searching for Plutosphere. Then it will launch your Oculus web browser and prompt you to sign in to your Plutoshpere account, which you will only have to do once.
Once you log in, a message saying “registering a Pluto device” will appear, followed by a confirmation of “success.” In case you face any issues when launching Pluto, ensure that no other browsers are installed on your Quest, as they may conflict with the Pluto app and hinder its functionality. After receiving the “success” message, return to your app library and relaunch PlutoSphere.
A black screen should then appear, and after a few moments, delightful elevator music will fill your ears. Soon after, SteamVR will initiate, allowing you to choose and indulge in any installed game of your preference. If you find yourself only hearing elevator music and the app closing, simply restart your Oculus headset and give it another try.
Shadow PC
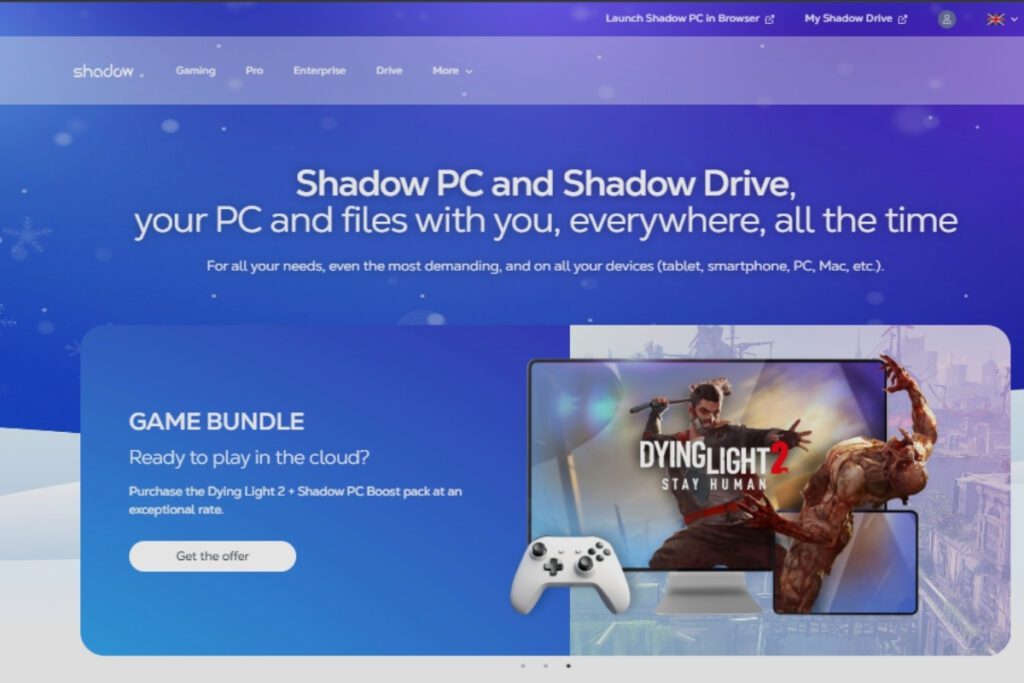
Shadow PC, similar to PlutoSphere, offers customers a remarkable platform where they can access a virtual PC and engage in a multitude of functions for a monthly fee. Shadow PC has a great advantage: it can stream VR games to the Meta Quest 3. This way, users can enjoy gaming experiences that they wouldn’t be able to otherwise.
Often, the reason for this limitation lies in the absence of a high-powered PC capable of running the latest cutting-edge VR games, especially those found on Steam. In such cases, utilising a virtual PC that fulfils the system requirements of most AAA VR games becomes an extraordinary solution.
You can play as many VR games as you want if you have a fast internet connection and pay a $30 monthly subscription. You must check the Shadow PC website to see if it is available in your state or nation because one of the main disadvantages of Shadow PC is that it is only available in certain regions of the US and Europe.
Shadow PC Requirements
For a seamless experience with Shadow PC, it is crucial to ensure that you have a high-performing setup. Firstly, confirm that your wireless headset is paired with a 5 GHz Wi-Fi 6 router. By navigating to the headset’s settings menu and selecting your Wi-Fi network, you can effortlessly connect the headset to the router and establish a solid link.
In addition to this, don’t overlook the importance of a robust internet connection. To enjoy smooth VR gaming, it is recommended to have a minimum internet speed of 50 Mbps. This ensures minimal latency and eliminates any annoying stuttering. To check your current internet speeds on the Meta Quest 2, simply head over to speedtest.net and initiate a speed test.
This will give you an accurate measure of how fast your internet connection is. By adhering to these guidelines, you can lay the foundation for an extraordinary VR gaming experience with Shadow PC.
How do I create a Shadow PC Account?
To begin playing games with Shadow VR, all you need is your Meta Quest 3 VR headset. The Shadow PC app cannot be downloaded until the SideQuest launcher has been installed on your VR headset.
Next, for Quest to operate via an internet connection and establish your Shadow PC account, you must link it to your laptop or tablet. After that is finished, you can complete the entire process on your Meta Quest 3 and won’t need to do it again.
When using Shadow PC, you can choose between the base model or the new power upgrade. The base Shadow PC option is like a gaming PC with a GTX 1080 graphics card. The Power Upgrade, on the other hand, has newer hardware, similar to a gaming PC with an RTX 3070.
Choose the tier that matches your budget and add extra storage to your Shadow PC if needed, at an extra cost. After you hit “continue,” they will want you to create your own shadow account to purchase your shadow machine.
After creating your shadow account, you will be taken to the billing page to provide your personal and billing details to proceed. You will need to choose a payment method to continue your purchase of the shadow machine. Shadow PC currently only accepts credit and debit cards as payment methods. However, they have announced that they will be adding a PayPal option shortly.
They will show you a confirmation screen and send you a confirmation email once your purchase is complete. It will take around an hour for your Shadow PC to be ready, but once it is, you will receive an email with confirmation.
Once your shadow machine is complete, you must run the shadow PC on your Oculus Quest, download Steam from there, and then launch Steam and SteamVR. From there, you can run SteamVR and install all the titles you want to play before embarking on your Shadow PC adventure.
Is the Meta Quest 3 Compatible with Steam?
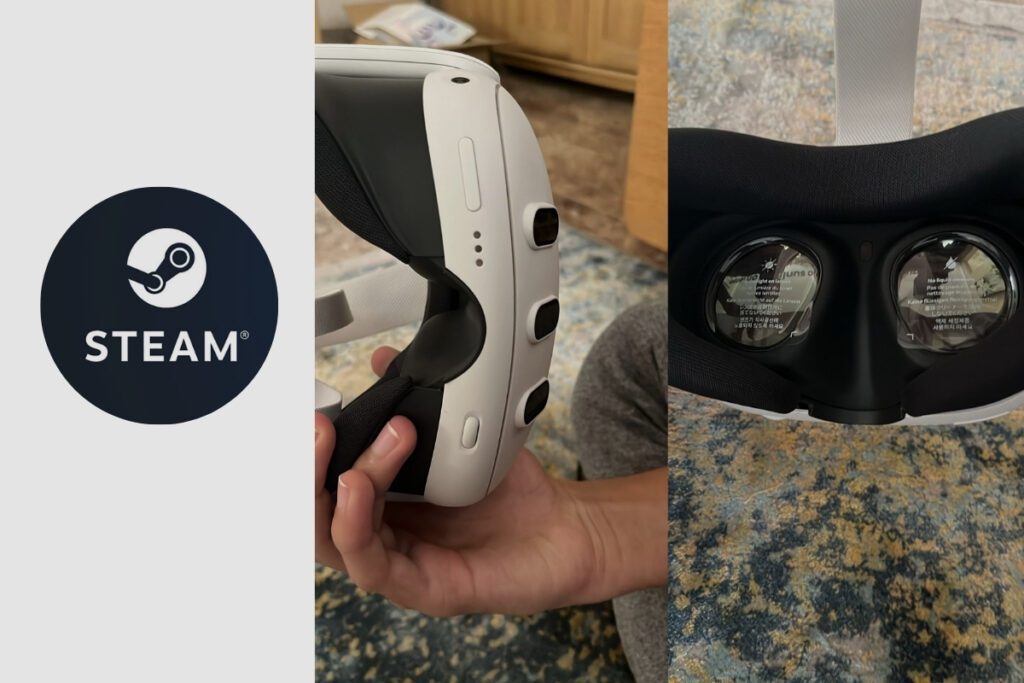
Valve announced that the Steam Link app is now compatible with Meta Quest 2, 3, and Pro headsets. This app enables you to stream games from your Steam library to other devices. You can now play your VR games wirelessly more easily with Quest devices thanks to Steam Link, so if you’ve been putting off playing Half-Life: Alyx on your Quest now could be the perfect moment. (That can be done currently, but it requires some effort.)
Final Thoughts
While the Meta Quest 3 is an amazing solo gadget, it is not required to be used exclusively. Connecting your Meta Quest 3 to a PC improves performance and makes the game more pleasurable to play. If you don’t have a PC, the Meta Quest 3 is a stand-alone console that works without one and is just as enjoyable to play without one.
Thank you for taking the time to read this article. I hope you enjoyed it as much as I did writing it. If you have any questions, please leave them in the comments section, and I’ll get back to you as soon as I can.

