The Meta Quest 2 controllers are one of the most memorable parts of the controllers, from their obtuse but intuitive design to their signature hand-tracking technology. The Meta Quest two controllers are an awe-inspiring set of controllers.
However, a lot of Meta Quest fans always ask about how the controllers charge. So, in this article, I’m going to be talking about the controllers of the Meta Quest 2 and how they charge, and I’ll also be looking at some of their impressive features to give you a complete view of the controllers.
- How do the Meta Quest 2 Controllers Charge?
- How do I know when my Meta Quest 2 Controllers are Dead?
- How do I Change the Batteries on My Meta Quest 2?
- How to Charge the Meta Quest 2 Controllers
- Replace the Batteries with rechargeable Ones
- What is Hand Tracking on the Meta Quest 2 like?
- How to Turn On or Off Hand Tracking
- Final Thoughts
How do the Meta Quest 2 Controllers Charge?
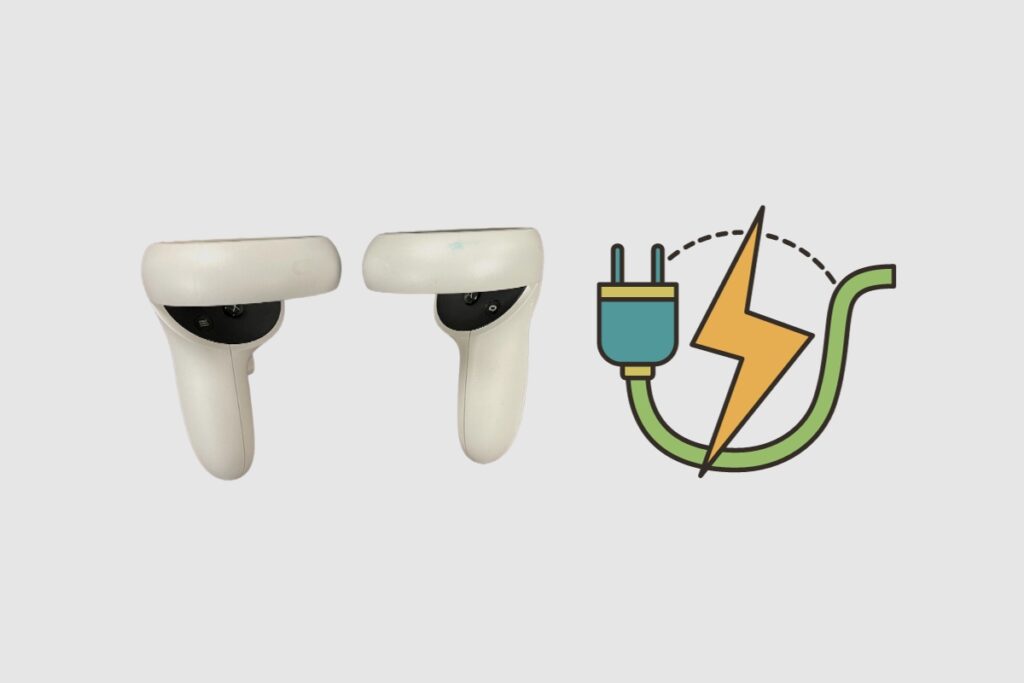
Unfortunately, the Meta Quest 2 controllers do not charge via any USB cables. In fact, if you look around the controllers of the Meta Quest 2, you will find out that there are no USB ports around the controllers.
So, in essence, there is no way for the controllers to be charged. The only way to maintain the power on the chargers is to change out the batteries on the Meta Quest 2 controllers when they are dead.

How do I know when my Meta Quest 2 Controllers are Dead?
The simplest way to tell when your batteries are low or know the charge left on your Meta Quest 2 controllers is to check their battery life via your Oculus or Meta app. To check the battery life on your Meta Quest 2 controllers, you will simply open your Oculus or Meta app and then go to devices. From there, you can tap on “controllers” and see their battery life.
You can also check out the battery life on your controllers by going to your settings when you have the headsets on. Then go to devices, tap on controllers, and you should be able to see the battery life of your Meta Quest 2 controllers.
Also, if you’re playing games or watching a movie on the Meta Quest 2 and the batteries on the controllers are low, a notification should appear on your screen telling you that your batteries are low.
How do I Change the Batteries on My Meta Quest 2?
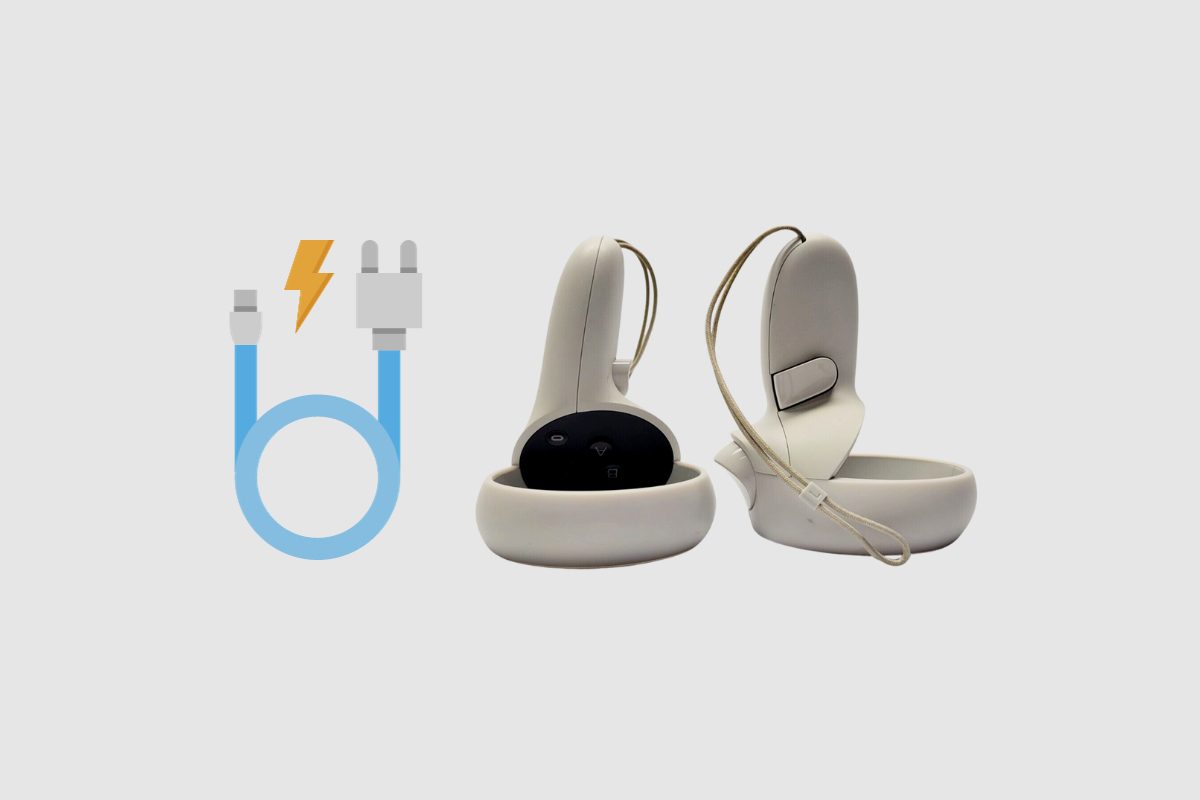
Changing the batteries on your Meta Quest 2 controllers is a very simple process. All you have to do is locate the downward-facing arrow at the top of the controller handles and then proceed to slide them down and take off the lid of the Meta Quest 2 controllers. Once the lid is off, you should be able to see the single AA batteries inside of them.
Once you can see the batteries, just proceed to remove them and replace them with new ones. Then proceed to clamp the battery cover firmly back in place until you hear it click. Then proceed to clamp the battery cover firmly back in place until you hear it click. Please make sure you are using good batteries, because if you use bad ones, they will die very quickly, and you won’t be able to play games with the controllers for very long.
If maintaining the battery life of your Meta Quest 2 controllers is of particular interest to you, then you can go ahead and purchase a battery charging pack that will always allow you to keep your batteries charged around the clock. You can also buy a charging dock that will allow you to charge both the headsets and the batteries on the controllers at the same time.
The Anker charging dock for Oculus Quest 2 can safely put your Quest 2 and Touch controllers on the 2-in-1 charging dock. The bundled rechargeable batteries and bespoke battery covers for your controllers will make charging simple and quick.

How to Charge the Meta Quest 2 Controllers
To charge the Meta Quest 2 controllers using the Anker charging dock and BeswinVR controller grips, start by removing the controllers from the BeswinVR grips. Then, insert the controllers into the designated charging slots on the Anker charging dock. Make sure the charging dock is plugged into a power source.
The LED indicators on the dock will show the charging status of the controllers. Leave the controllers to charge for a few hours until they are fully powered up. Once charged, remove the controllers from the dock and re-attach them to the BeswinVR controller grips for use.
To swap out the disposable AA batteries with rechargeable ones, open the battery compartments on the controllers and remove the disposable batteries. Insert the rechargeable AA batteries into the compartments, following the correct polarity.
Then, place the controllers on the Anker charging dock to charge the rechargeable batteries. The dock will automatically charge the batteries, and the LED indicators will show the charging status. Once the batteries are fully charged, they can be used in the controllers for extended periods of playtime.
Replace the Batteries with rechargeable Ones
To replace the batteries in the Meta Quest 2 controllers with rechargeable ones, start by gathering single AA rechargeable batteries and a suitable charger. Next, carefully remove the existing batteries from the controller and replace them with rechargeable ones. Make sure to insert the batteries in the correct orientation.
Finally, before using the controllers, ensure that the rechargeable batteries are fully charged using a suitable charger. This will ensure that the controllers have a reliable source of power and that the batteries are ready for use. With the use of rechargeable batteries, you can save money and reduce waste by reusing the batteries instead of constantly buying new ones. This simple switch to rechargeable batteries is an eco-friendly and cost-effective choice for powering your Meta Quest 2 controllers.

What is Hand Tracking on the Meta Quest 2 like?
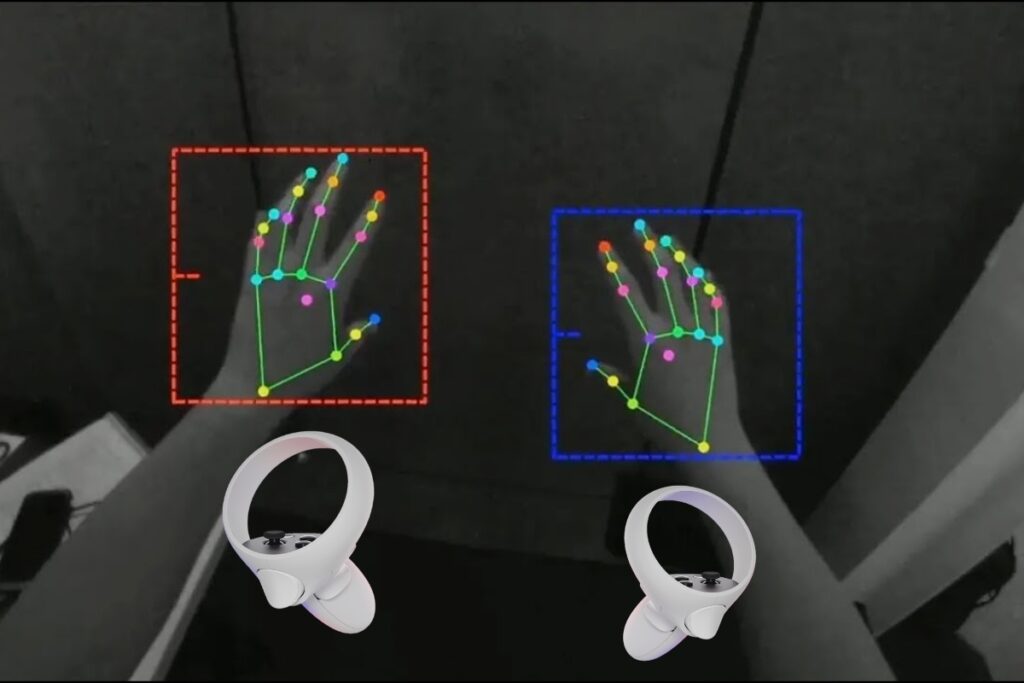
When hand tracking is enabled, the Quest 2 tracks your hands with its external-facing cameras, and you see them as shadowy, dark hands within the headset. (The Direct Touch clip by CEO Mark Zuckerberg looks to have been shot on a Quest Pro and features additional hand and arm detail.)
Consider being able to anticipate when your hand will simply glide across a menu or window due to tiny shadows guiding your every motion. When you make contact with an item, it comes to life, gently scrolling and illuminating your path. And, while the scrolling is a little off-kilter, it’s actually more responsive than you’d expect.
How to Turn On or Off Hand Tracking
- Press the “Quest Button” on your right Touch or Touch Pro controller to open your universal menu.
- Hover your mouse over the clock on the left side of the global menu. When you select Quick Settings, the Quick Settings panel appears.
- In the upper right area, right-click Settings.
- Select Device from the left menu, then Hands and Controllers.
- Select the toggle button next to Hand Tracking to turn it on or off.
From here, you can also turn on or off the automatic switch for hand tracking. If you activate this option, your headset will automatically transition between using your hands and the controllers anytime you put down or pick up your controllers. If this option is turned off, you must manually enable and disable hand tracking.
Final Thoughts
While you can’t directly charge the Meta Quest 2 controllers, changing the batteries on the controllers is a relatively simple process that shouldn’t take you more than a few seconds to do. This would definitely allow you to keep gaming without a lot of stress and for much longer periods. Also, if you buy the battery charging port and charging dock, gaming and having fun on the Quest 2 should be a breeze. Once again, I’d like to thank you so much for reading this article. Please feel free to ask any Meta Quest questions you have in the comment section below.

