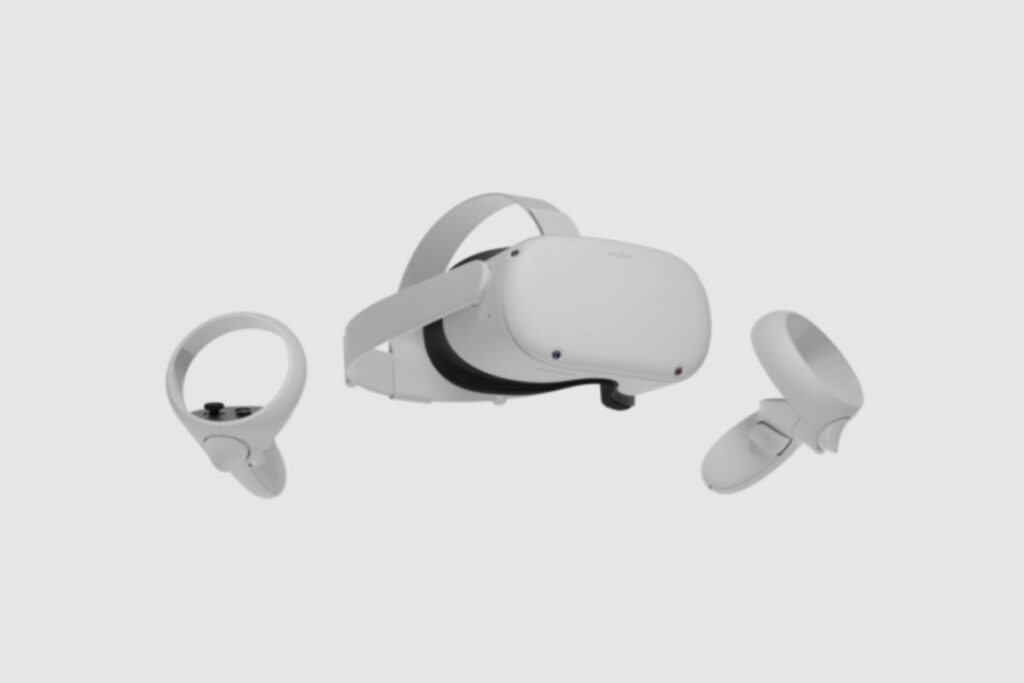
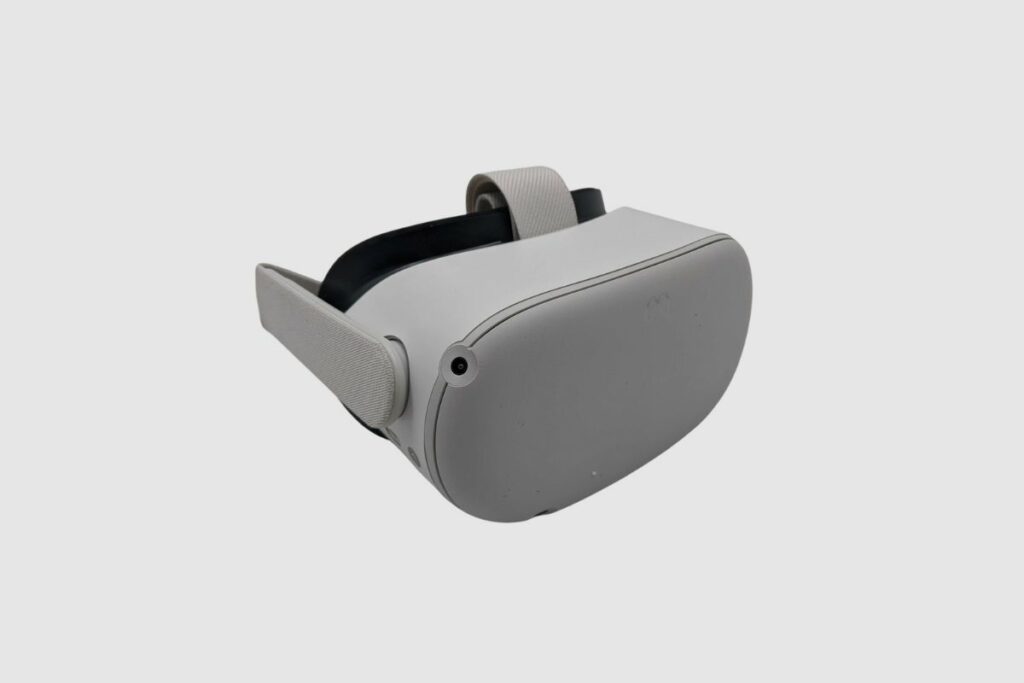
The Meta Quest 2 is a wireless VR headset that will take you through the journey of an amazing virtual reality world without requiring a PC. It is more powerful than its original, and it presents amazing features like incredible battery management, hand tracking, enhanced visuals, as well as the capability to play PC-level VR games through the Oculus link.
With its fast processor, sleek design and sharper display, you are guaranteed top-notch performance and an immersive viewing experience when playing games or using applications.
Cost
The Quest 2 comes in two different versions, the 128 GB memory, which costs $399.99 and the 256 GB memory, which costs $499.99. There are no other notable differences between these two devices, but it is important to note that these prices may differ depending on the store of purchase and location.
Features
The Meta Quest 2 is made up of cool features that give it an edge over the original Quest. These features include:
- Higher resolution panel: The Quest 2 comes with a display of 1832 by 1920 resolution for each eye, which is 50% higher than its predecessor.
- Faster processor: It is equipped with the Qualcomm Snapdragon XR2 platform with 6 GB of RAM. In essence, you can bank on the Quest 2 for fast and smooth performance. With its 256 GB storage capacity, you can save your games and apps.
- Refined controllers: The motion controllers are highly redesigned to bring about a better functional design as well as tracking for smart input.
- Oculus Link: The Oculus Link cable, which is sold separately, enables you to connect this device to your computer and allows you to enjoy Oculus Rift titles.
- Great Audio: With the built-in speakers, the Quest 2 produces cinematic 3D positional audio, enabling you to hear from all left and right directions.
- Facebook requirement: To log in, a Facebook account is required. This makes it easy to meet up and interact with friends on VR and get to find out about new communities around the world.
- Easy setup: Get the Quest 2 out of the box and set up with the smartphone app, and dive into VR. No PC is required. All you need is wireless internet access and the Oculus app which is a free download to set up the Quest 2.
- Headset casting: You can cast directly to a compatible TV or the Oculus mobile app, then share your VR experiences with friends and family.
How to get the Oculus App
You can get the App through a supported phone (iOS 10+ Android 5.0+), then download the App and follow the instructions you see on the screen.
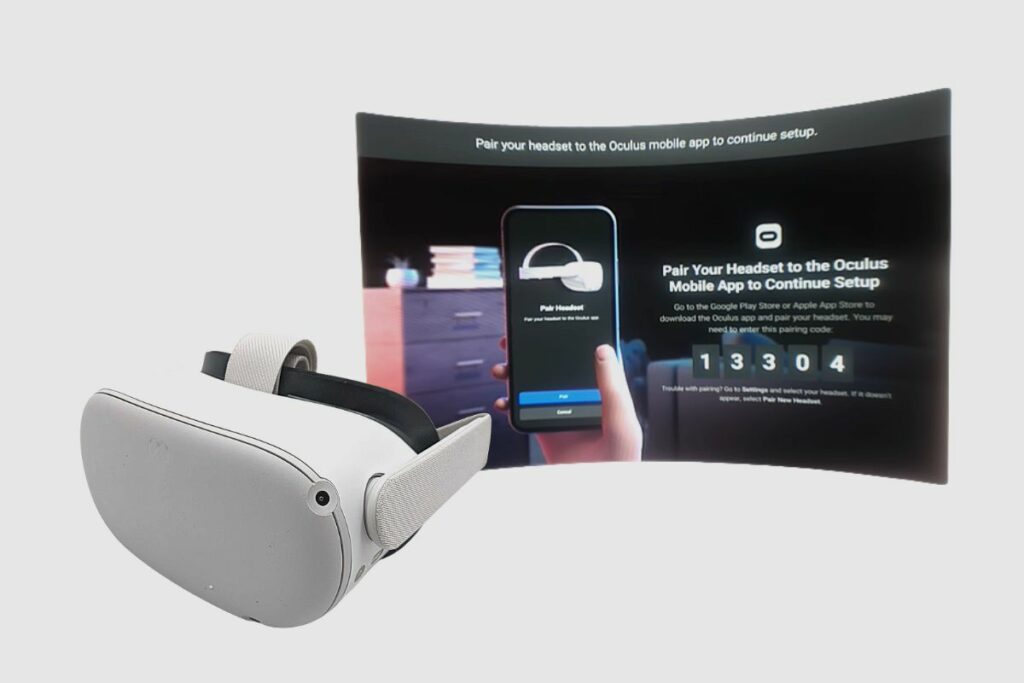
How to set up Meta Quest 2
Setting up this device does not require the help of a professional; just take the following steps:
- Take out the Quest 2 and its accessories out of the box, and get ready to charge.
- Plug the charging cord into a power source and into the USB-C port on the left side of the headset. The charging indicator will turn from colour orange to green when the battery is fully charged.
- Carefully adjust the headset. If you have your glasses on, you will have to put on the headset from the front of your head first.
- Put on your Quest 2 with the button on the right side (next to the charging indicator). Then hold the headset on both sides and slowly slide it up and down your face until the images become clear.
The Touch controllers
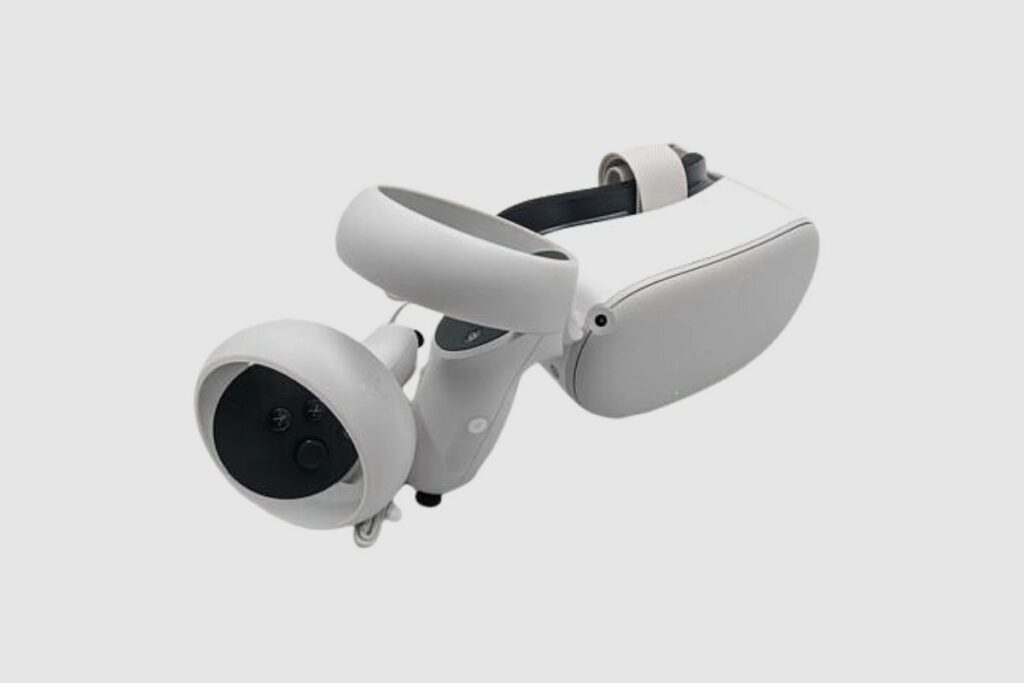
Using the touch controllers, your hands will get into many quest experiences. These controllers include a pair of thumb sticks, traditional action buttons, and analogue triggers that are quite popular. Individual apps sometimes have their own tutorial for using touch controller buttons. These are basic things to know about buttons; they include;
- Oculus button: Pressing the Oculus Button pulls up the universal menu while holding the button refocuses your view.
- Grip button: Pressing the Grip button on the side of the controller brings about a fist or grabs an object with your virtual hand.
- Triggers: The trigger you will see on the front of both controllers, with the A and X buttons, allows you to select objects. The B and Y buttons take you back to the previous screen or menu.
- Thumbstick: Navigate around your virtual environment using your thumbsticks.
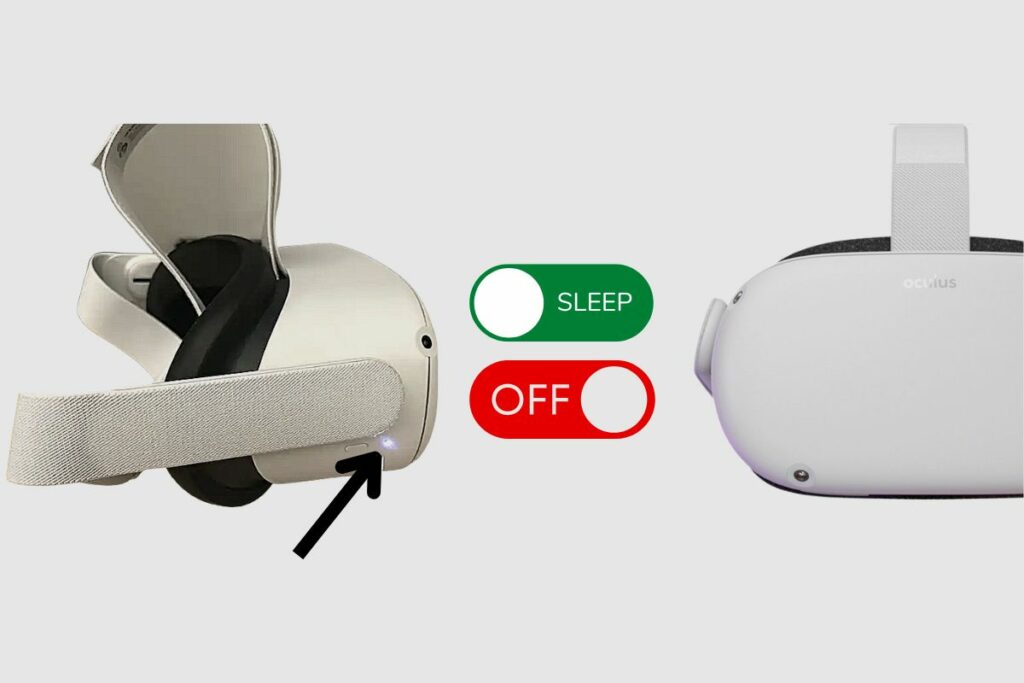
How to sleep and power off the Meta Quest 2
To put Quest 2 to sleep, press the power button. The headset will wake up immediately after you place it back on your head. While this device is asleep, it still pulls a little power.
To put off Quest 2 completely, press the power button for about three seconds until the indicator light goes dark. Put it back on by holding the power button.
How to connect the Quest 2 to Wi-Fi
The use of the Quest 2 requires Wi-Fi, and setting it up is quite easy.
Press the Oculus Button on your right touch controller, which pops up the universal menu. The point at the clock on the left side of the menu, which takes up the Quick settings panel. Then choose Wi-Fi, switch it on, and select the network you want to connect it to. Enter the password using the pop-up keyboard. Then, finally, select connect.
Pros
- Portability: The Meta Quest 2 is lightweight and can be easily thrown into your backpack, given its compact size. You can charge it and take it just about anywhere with you, given its wireless nature.
- Affordability: The cost is just everything, as it gives you so much value for the price. It offers amazing experiences, incredible games and a good amount of functions. As a versatile standalone device, it can be used for office jobs and coding.
- Fantastic immersive experiences: This device gives you clear and crisp games as well as loud and clear sounds with its built-in microphone. This will definitely fascinate you and keep you immersed in your actions.
- High-resolution display: The Quest 2 uses a 1920 x 1832 resolution display for each eye, which is higher than the original Quest.
- Powerful processor: With its Qualcomm snapdragon XR2 platform and 6 GB RAM, you will get a faster and smoother performance that is free from lag.
- Detailed motion tracking: The hand tracking feature works well, and it is highly responsive. You can use your bare hands to hand track while the headset’s camera follows your position and the shape of your hands.
- Wireless: The Quest 2 is quite easy to set up and does not require cable/wiring.
- Glass spacing system: The Quest 2 offers a glasses spacing system in the box for spectacle wearers, which you can attach to the headset to give you convenience
- Optional PC tethering via Accessory cable: The PC is optional, so you can either use the 16.4 foot (5 m) USB-C cable to connect to the Quest 2 to a compatible PC or without it.
- Social interaction: While using this gaming headset, you still have the opportunity to interact/share with friends and family via Facebook and other apps.
Cons
- Short battery life: The battery of this headset lasts for about 2-3 hours, which is short for extensive gaming and long media sessions.
- Can cause nausea and motion sickness: To some people, this headset can make them feel nauseous when gaming. However, it all depends on the game you are playing or basically how your body reacts to it.
- Requires a Facebook login: Quest 2 requires a Facebook login in order to get access. This may not be acceptable to some people, but it is a major requirement.
- Non-rechargeable controllers: The controllers make use of Double A batteries, so they cannot be recharged. The battery has to be replaced when the present one becomes weak.
Conclusion
The Meta Quest 2 is your go-to VR headset for maximum relief and comfort. Although it comes with some downsides, its benefits are numerous, which makes it worth it. It engages you and energises you, especially since it can help you unwind from stress.
This compact VR headset provides great value for its cost as it is lightweight, comfortable, quite affordable and easy to set up.

