Unfortunately, the Meta Quest 2 cannot connect to a PS4 directly via its link cable because the proprietary software on both devices is not compatible and, as such, will not connect or work on the PS4. This is because the PS4 is designed to interface with Sony-designed and PlayStation-integrated devices and software. In many cases, most Sony-designed devices will not work on the PS4 because they don’t have the same software integrations and processes.
This makes it virtually impossible for you to connect your Meta Quest 2 to a PS4. In fact, you cannot even download the Meta Quest 2 app on your PS4, which means that you can’t even play games with the Meta Quest 2 on the PS4 even if you could somehow connect both devices and get them working.
So, if you have a PS4 and you are thinking about getting a Meta Quest 2 as well, and you might be hoping to connect both devices and also play VR games. Then, I’d strongly advise against such a line of thinking because it won’t work, and you would just be wasting money but never fear; you could always buy a brand new PS VR headset and connect it directly to your PS4 and play games directly from there. However, if you already have both devices and you must connect them, then there are a few workarounds you can use to connect your Meta Quest 2 to your PS4.

Can you Connect your Meta Quest 2 to a PS4 Using a Laptop?
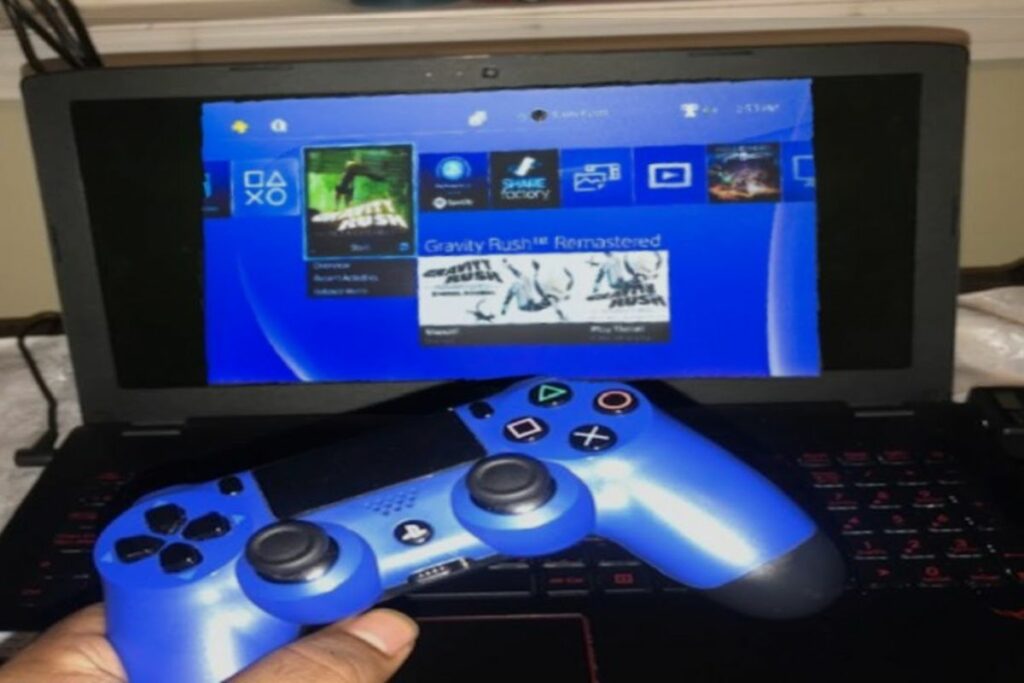
It is possible to connect your Meta Quest 2 to your PS4 using a laptop to workaround the PlayStation software integration issues. The key thing you are going to need is a PlayStation account and knowledge of PlayStation’s remote-play function on your PS4.
Remote Play is a function on your PS4 that allows you to remotely play games from your PS4 or PS5 via any remote device that has an internet connection. You can use the remote play function to play games remotely on your laptop, tablet, phone, or even another PlayStation console.
This process is the best way to allow you to play games from your PS4 on your Meta Quest 2, but please be informed that this process will not allow you to play PSVR games because your Meta Quest 2 controllers are not compatible with PSVR games. However, you should be able to use your PlayStation controller on your PC to play games via the Meta headset. In this case, the headset would be acting as your display.
How to Connect your Meta Quest 2 to a PS4 Using a Laptop and Remote Play
Using a remote play on your PC or laptop is a very simple process, and it does not require you to do a lot of work. To begin, go to the appropriate Sony website and download the remote play app onto your Windows PC. Please note that remote play will only work on laptops that have Windows 10 or higher installed.
To download the app from Sony’s webpage, you’ll need to scroll down to the bottom of the page, where you will see an SIE application agreement. You should click on “accept” and then download the application.
Once the installer has been downloaded, just open the app and then sign into your PlayStation Network account using the same credentials you use to sign in to your PS4. After you have successfully logged in, you will be met with a prompt asking you which console you would like to connect to.
However, before you can connect your PC to your PlayStation and use remote play, you will need to change some of the settings on your PlayStation to optimise your gaming sessions. There are only two settings you will need to change on your PlayStation console to get it to work.
The first thing you will need to change is your sleep mode settings. So, on your PlayStation console, you will need to go to “settings” and then go to “power settings” and switch your sleep mode settings to keep your internet connection when your PlayStation enters sleep mode. This is because your console will always need to be on and connected to the internet for remote play to work.
Finally, the last thing you will need to do is go to your settings and enable the remote play option on your console so that this whole process will work. Once that is done, you will have to connect your PlayStation controller via Bluetooth to your PC so that you can play games on the console.
Now once all of that is set up, you will then connect your Meta Quest 2 headset to your laptop via the link cable that it comes with, and then from there, you should be able to use your Meta Quest 2 headset as a display and play some of your favourite PlayStation titles with your Quest 2 headset.
How to Connect your Meta Quest 2 to a PS4 Using Virtual Desktop
We need to employ a workaround to get the Meta Quest 2 VR headset to function with your PlayStation 4 or PS5, as PlayStation does not officially offer a means to do so. Since there are so many tools available today to make connections possible, it seems obvious that many gamers desire to be able to link their VR headsets to traditional gaming consoles.
Virtual Desktop is one of the most popular programmes you can use to link a Meta Quest 2 to a PS4 or PS5. Users of the Oculus platform can purchase and download the premium programme Virtual Desktop. This programme will be used in conjunction with other programmes to enable you to observe PlayStation gameplay on your computer using your Oculus Quest 2.
Before I go any further, let me walk you through the entire process of using Virtual Desktop to connect your VR headset to your PlayStation. To play PS4 and PS5 games through your Oculus Quest 2 using Virtual Desktop, follow these steps:
- For your Oculus Quest 2, download and set up the Virtual Desktop application.
- Your machine should be downloaded and installed with the Streamer programme for Virtual Desktop.
- On your PC, launch the Streamer application.
- Utilize your Oculus user credentials to log in to the Streamer application.
- Create a desktop shortcut for PS Remote Play after downloading and installing it on your PC or Mac.
- Go to Settings on the PlayStation home screen to start, then turn on PS Remote Play on your PS4 or PS5 system.
- Visit System.
- Access Remote Play.
- flick the switch to turn on Remote Play.
- You must first enable PS Remote Play in rest mode in Settings before you may use it while your PlayStation system is in this state.
- Select System from Settings.
- Click on Power Saving.
- Access the Rest Mode Features page.
- Turn on the Stay Connected to the Internet option.
- Turn on the setting for “Enable Turning on PS5 from Network” (or Enable Turning on PS4 from Network).
- Make a second PlayStation account to which you can add a DualShock gaming controller to play and save games with your primary PlayStation account.
- Join your computer to your Oculus Quest 2.
- In your Oculus Quest 2, open the Virtual Desktop software.
- Choose your computer from the list of options.
- Tap the PlayStation button on your game controller to bring up the PlayStation screen, then sign in with the account that isn’t used for Remote Play.
- To activate your primary PlayStation account, use your secondary account (the one used for Remote Play).
- Simply press the PlayStation button.
- To load the PlayStation home screen, go to the home tab in the menu bar.
Compared to the usual processes for setting up a video game, those were a lot of steps. Even though there are numerous processes, none of them is particularly difficult to complete.
Anytime you complete the majority of the aforementioned procedures, you won’t need to repeat them all when you wish to play your PS4 or PS5 through your Oculus Quest 2 again.

How to get Steam on Oculus Quest 2 Without a PC
Getting Steam to function on your Oculus Quest 2 requires you to use a few workarounds, and the procedure is not simple. But if you have some patience, you can make your Oculus Quest 2 and Steam operate nicely together, and the best method you can use is downloading PlutoSphere
Using PlutoSphere
A virtual cloud PC powered by Amazon Web Services is used by Plutoshpere, a cloud streaming service, to broadcast virtual reality (VR) games to consumers via their pre-installed Steam VR store on their app. PlutoSphere uses cloud computing to give customers access to a virtual PC for a monthly subscription price. Users will be able to stream PC games onto their VR headsets and utilise their cloud technologies as a result.
Making an Account on PlutoSphere
You must visit the PlutoSphere website or click on this link, dashboard.pluto.app, to register for a PlutoSphere account. Because they conflict with each other and harm the PlutoSphere website, please be sure to disable any add-blockers on your browser. When you log in to your account on the main dashboard after creating it, you must first verify it by entering your phone number and the verification code you will receive by text.
You must have Pluto tokens on hand; if you don’t, you can purchase some by clicking the “Get Tokens” button. After providing your Pluto username, you will be able to purchase some tokens for $2 for 600 tokens, which is equivalent to around an hour of use. At the top right of your dashboard, you can view your tokens once you have any.
After that is finished, return to the Pluto dashboard and select “Start” from the menu. Your virtual PC should then be built, complete with all the tools required to launch SteamVR right now. You may monitor the progress of this operation by looking at the information bar, which displays the words “booting up” and “connected” after a 10–15 minute period.
On your Oculus Quest 2, you must download and set up the PlutoSphere app. You may accomplish this by using a USB-C cable to link your Quest to your PC. Once SideQuest is running and connected to your PC, continue. Then, using your browser to search for PlutoSphere, click the “Download app” option to download and install it on your quest. then hold off until it’s done. Then look through the apps you presently have installed and look for PlutoSphere. The PlutoSphere package will appear once it has finished downloading.
As soon as that happens, you must return to your Pluto dashboard on your phone or tablet and see if the status has changed to “connected.” You can move forward if it has. The next step is to click the button that has a small computer icon on it.
Then, within 30 seconds, a secondary browser tab with your virtual PC should open. You ought to get a pleasant welcome message that you can dismiss. Once you’ve done that, you should see a screen that looks almost exactly like a standard Windows PC, except for the blue bar to the left that you can click to access a variety of editing options for your virtual PC, such as adjusting the video quality for VR, and the button at the bottom of the bar to bring up your keyboard should you need to enter any text.
Launching Steam
Launch Steam on your virtual browser now, followed by Steam VR to enable use with your VR headset. When you’re ready to play a game, visit Steam and download and install it. After that is finished, you can put on your VR headset, switch to Plutosphere by clicking “Apps,” choosing “unknown sources,” and then finding Plutosphere. After that, it will prompt you to connect to your Plutoshpere account, but you only need to do so once. Your Oculus web browser will then open.
Following your login, the message “registering Pluto device” should be followed by the word “success.” Make sure there are no other browsers loaded on your quest, as they will conflict with the Pluto app and prevent it from running if nothing happens when you launch Pluto. Return to your programme library and launch PlutoSphere once again after that is finished, and you receive a “success” message.
Following a few seconds of a black screen, you ought to hear elevator music. You can choose any game you wish to play after SteamVR has launched, provided it has been installed. Restart your Oculus headsets and give it another try if all you hear is elevator music before the app closes.
Conclusion
Connecting your Meta Quest 2 to your PS4 may not be the simplest process, but it is doable if you can use any of the methods I have listed for you. However, if you don’t want to use workarounds to play VR games on your PS4, you can simply purchase a PSVR headset and play as many PlayStation VR games as you want.
I’ve also included a method for you to get SteamVR on your Meta Quest 2 without using a PC, so you can play as many games as you want. Thank you so much for taking the time to read this. Please leave all of your comments in the section below, and I will respond as soon as possible.
Related Posts: