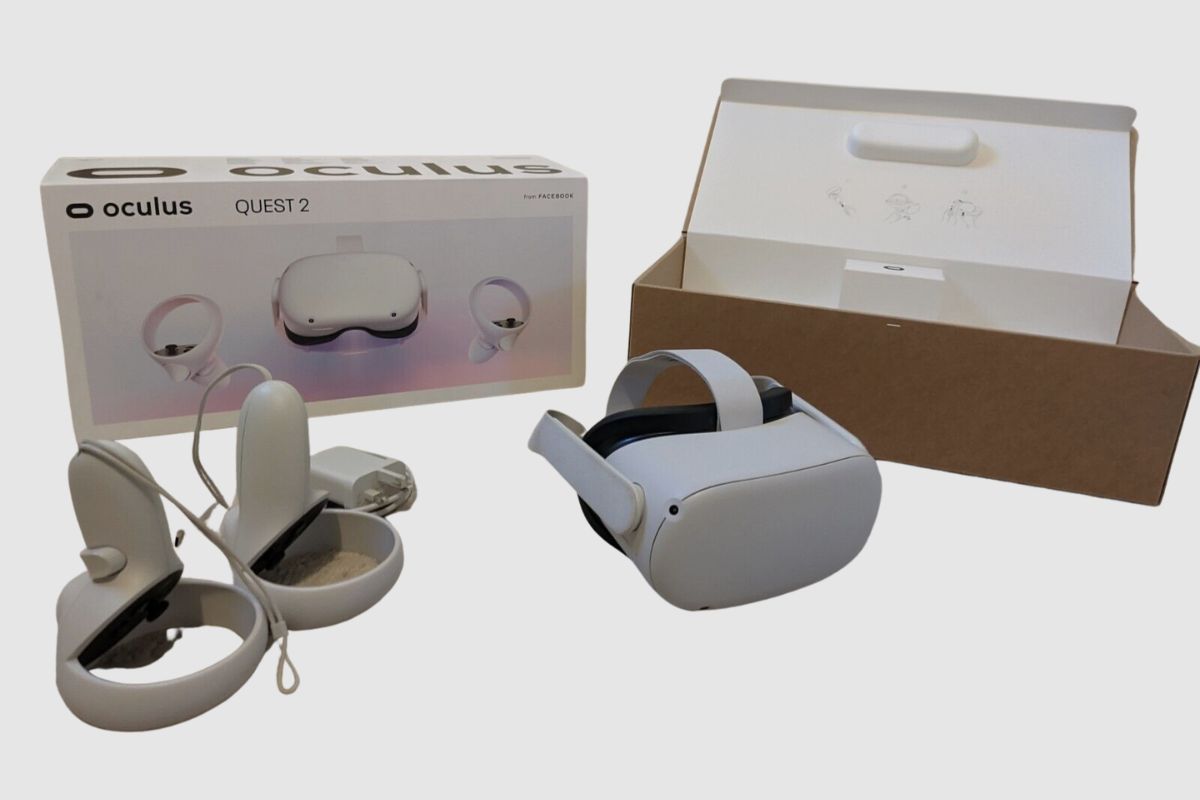
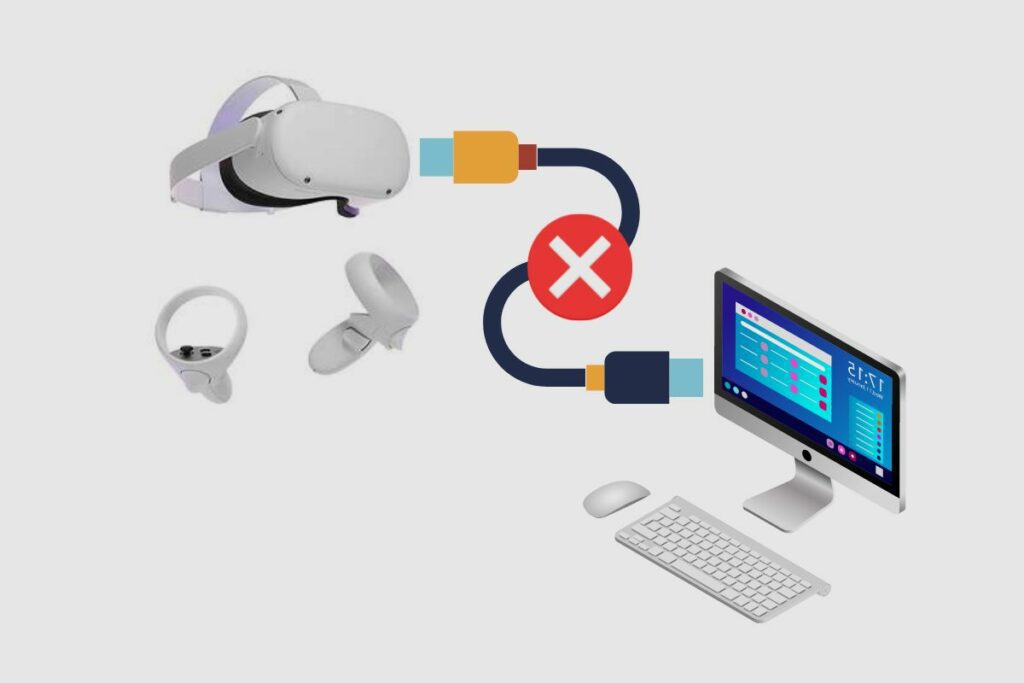
When you try to connect your Meta Quest 2 to your laptop to play games, and all you see are three blinking dots on the screen with a black background around them, it can be very frustrating. Eventually, you will get an error message on your Oculus app (also known as Meta app) on your PC saying that it can’t find your headset.
This error may occur for a variety of reasons, and there is no one true solution to your Meta Quest 2 not connecting to your laptop. You will have to run through a variety of troubleshooting solutions to find one that will fix your connection issues. However, there are a few common solutions that may work, and there are a few more obscure ones that may help solve your problems too. So, in this article, I’ll be showing a few of the possible solutions that you can use to solve your problems on your Meta Quest 2.
- Why isn’t my Meta Quest 2 Connecting to my PC
- Troubleshooting Your Meta Quest 2 Headset
- How to Perform a Physical Factory Reset on Your Meta Quest 2
- How to Perform a Digital Factory Reset Using the Meta Quest Mobile App
- How to Remove Your Meta Quest 2 Device from Your Facebook Account
- Update the Drivers on Your PC
- Reinstall the Drivers
- Check Your Internet Connection
- Conclusion
Related post to read: Meta Quest 2 Review.
Why isn’t my Meta Quest 2 Connecting to my PC
There are a variety of reasons why your Meta Quest 2 may not be connecting to your laptop. It could be that your Meta Quest 2 is not connected properly to your PC, that your USB cable is not working anymore, or that your Wi-Fi connection is not stable. There are multiple reasons why your Meta Quest 2 headset may not be connecting to your PC, and to fix it, you will need to go through a variety of troubleshooting solutions.
Troubleshooting Your Meta Quest 2 Headset
Fixing your Meta Quest 2 issues may be as simple as turning off the headset and turning it back on again; you could also do the same with your PC to see if the problem goes away. Another solution would involve changing your USB cable because it may not be working anymore. You could also think about performing a hard reset on your Meta Quest 2 or even removing the device from your Meta Quest 2 app to see if it will work and if it will solve your connection problems.
How to Perform a Physical Factory Reset on Your Meta Quest 2
To perform a physical factory reset, you must first turn off your headset. The next step is to simultaneously press the power and volume buttons on your headset until the boot screen appears. To navigate the boot menu, use the volume buttons on your headset.
To select “factory reset,” highlight it and then press the power button. Then, select yes and press the power button to begin the factory reset. After that, all of your information on the system will be erased.
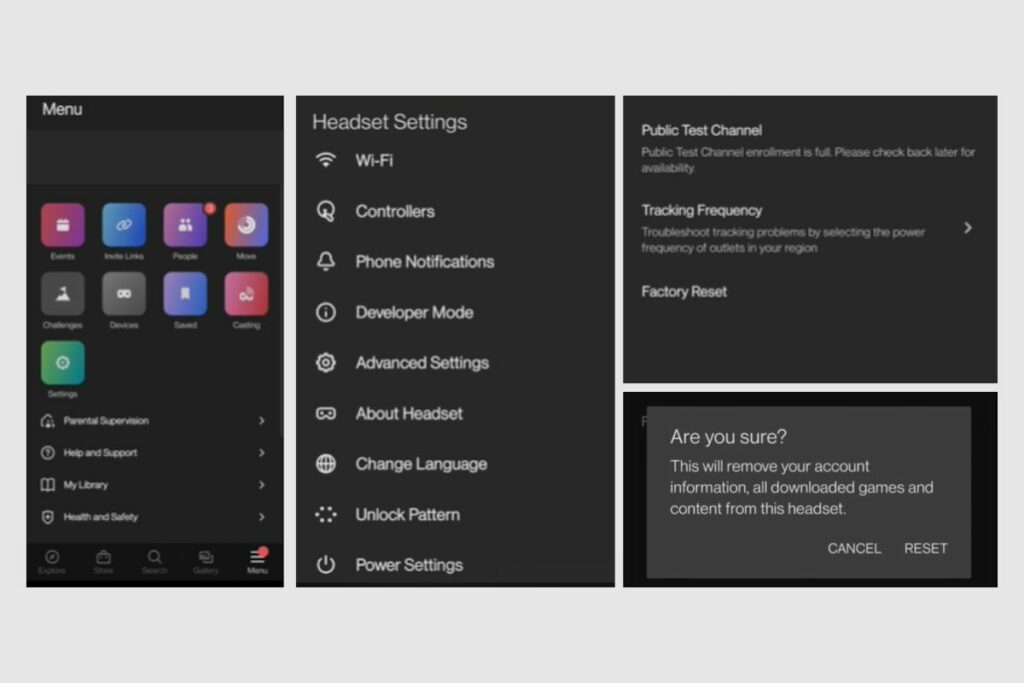
How to Perform a Digital Factory Reset Using the Meta Quest Mobile App
Using your phone to perform a digital factory reset is a simple process. To begin, launch the Oculus/Meta Quest app on your smartphone. Then, tap the bottom menu, then devices, and finally, the headset you want to factory reset. Then select advanced settings, then factory reset, and finally, the reset button. Once that is completed, the factory reset will begin.
Please keep in mind that a factory reset is permanent and will erase all account information, downloaded games, and content from the headset. However, performing a factory reset on your headset will not delete any purchased content from your Meta account.
How to Remove Your Meta Quest 2 Device from Your Facebook Account
Another thing you can do to reconnect your laptop and Meta Quest 2 is to remove and re-add the device to your Facebook account. The first step is to log into your account, which can be done via a mobile device or laptop. All you have to do is go to Meta.com, click on the login page, and then sign in to your account with your username and password.
After logging in, click the menu button, which is the three bars on the side of your home page. Then, next to your user ID, select the dropdown menu. You can then select devices from the menu.
Then you should be able to see how many devices are linked to your Meta account. If you want to know which device to delete, you must check the serial number to ensure it is correct. The device serial number can be found on the headset itself or on the box it came in.
After you’ve confirmed the specific device you want to delete, click “delete device data.” When you click on it, you will be prompted, “Are you sure you want to delete all data from your Meta Quest 2?” “Because you will be unable to record this data following this process.”
If you are certain that you want to delete all data from the device, click “Continue.” When you click “Continue,” you will be asked to confirm that it is your account by providing them with the email address you used to create your Meta account. Then, to begin the deletion process, enter the code that was sent to your email address.
Once you’ve successfully entered the code and the account has been verified, you’ll see the same message as before, asking if you’re sure you want to delete the device from your account. You will also no longer see the device on your list of devices.
When you click “confirm,” the device will be removed from your account, and all data on it will be erased. This is a continuous process, so if you have any information that you want to keep, make sure it is backed up on cloud storage.
To reconnect your Meta Quest 2 to your Facebook account, you must first create a new account in the Meta Quest app on your phone or laptop.
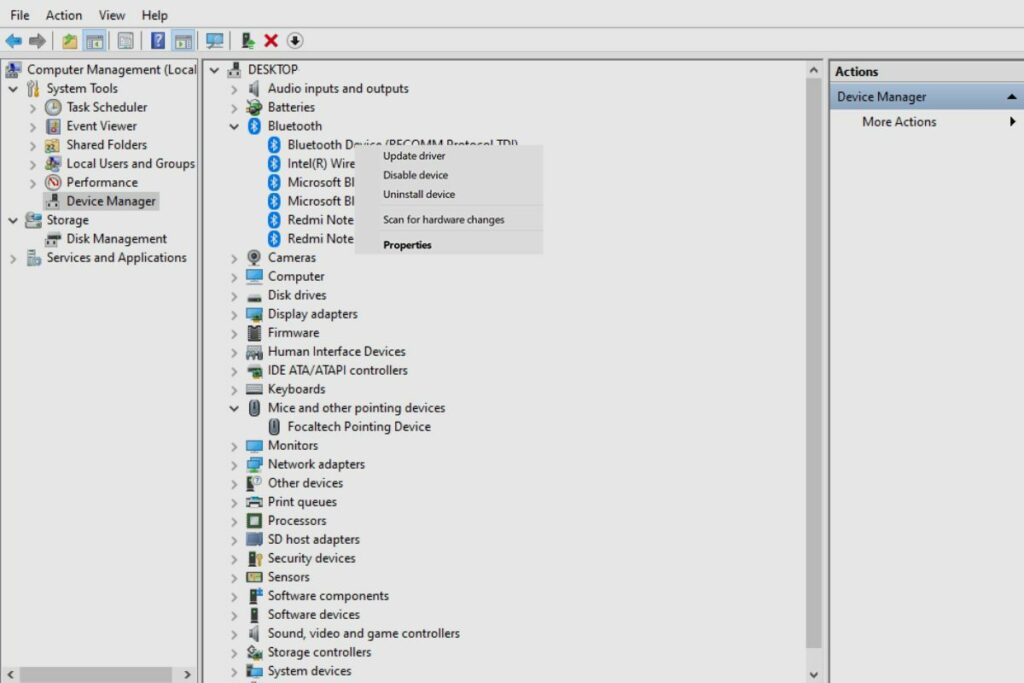
Update the Drivers on Your PC
Updating the drivers on your PC is a surefire way to reestablish the connection between your Meta Quest 2 and your PC. Updating your drivers is a simple enough process all you have to do is follow my step-by-step guide;
- Enter “device manager” in the taskbar’s search box, then select Device Manager.
- Choose a category to see device names, then right-click (or press and hold) the one you want to update.
- Select “Automatically search for updated driver software.”
- Choose Update Driver.
- If Windows is unable to locate a new driver, you can try searching for one on the device manufacturer’s website and following their instructions.
However, you should know that Windows Update automatically downloads and installs driver updates for Windows as well as many devices such as network adapters, monitors, printers, and video cards. You most likely have the most recent drivers.
Reinstall the Drivers
If you are still having connection issues with your Meta Quest 2, you may need to reinstall all of your drivers on your laptop or PC. To reinstall your drivers, you will have to;
- Enter device manager in the taskbar’s search box, then selects Device Manager.
- Right-click (or press and hold) the device’s name, then select Uninstall.
- Restart your computer.
- The driver will be reinstalled by Windows.
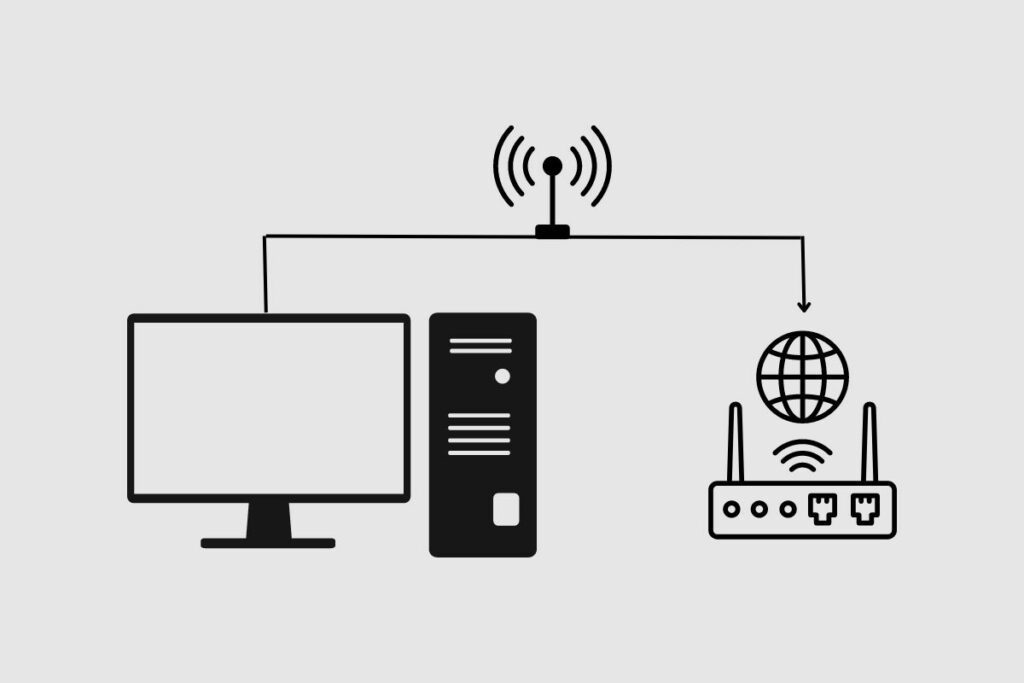
Check Your Internet Connection
Finally, if you have tried everything listed above, it may be that your internet connection is not stable, and you need to reset your router or internet dongle. However, if you have tried everything and your Meta Quest 2 can not still connect to your PC, then you will need to take your Meta Quest 2 to Meta for it to be repaired or replaced. A quick thing to note is that if you live outside of the US and some parts of Europe, you will need to pay for the shipping costs to send over the headset to their offices.
Conclusion
Fixing your connection problems with the Meta Quest 2 is a slightly difficult issue because they are so many reasons why the issue could have occurred in the first place. However, I have provided you with a variety of solutions that should help you fix your connection issues with your Meta Quest 2. However, if you have tried everything and your Meta will not still connect to your PC, then you will need to send it to Meta to be repaired or replaced. Thank you so much for reading this. Please leave all of your questions in the comment section below.
Related Posts: