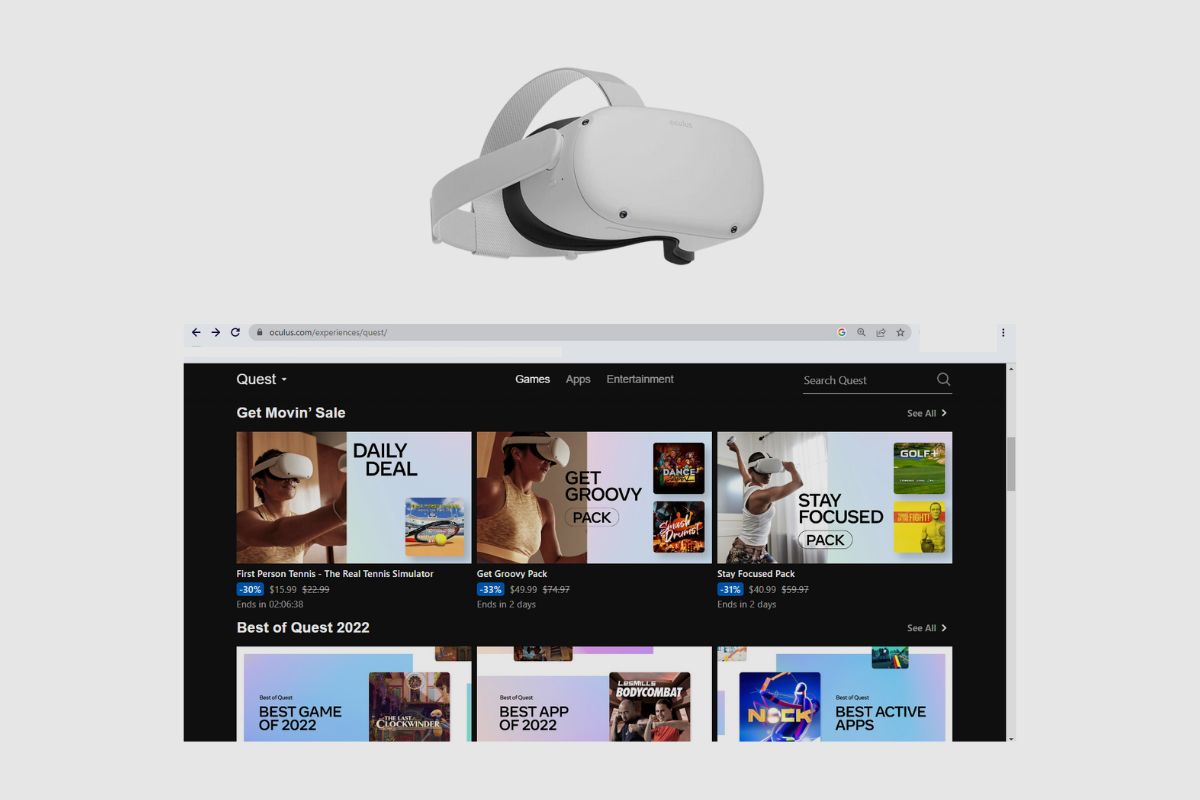
To delete an Oculus Quest 2 account, you need to access the Meta Quest website and navigate to your account settings. From there, you can select the option to delete your account, which will permanently remove all your data and purchases associated with the Oculus Quest 2. Keep in mind that this action is irreversible, so be certain before proceeding.
There are several valid reasons why you might want to delete your Oculus Quest 2 account. You may have encountered issues with the device, or perhaps your account was hacked and your data compromised.
If someone has stolen your Oculus Quest 2, you might want to delete your account to prevent misuse. Alternatively, you may simply wish to sell your Oculus Quest 2 and want to ensure your personal information is removed.
Regardless of your reason, I’m here to assist you through the process. In this article, I’ll show you how to delete your Oculus Quest 2 account, ensuring your data is safe or ready for a new owner.
Please note that deleting your account or performing a factory reset on your Oculus Quest 2 will remove all your data, games, and progress from the device, returning it to its original software state.
However, if you have cloud backup enabled, your in-game progress and settings for any cloud-enabled apps will be saved.
Step-by-Step Guide to Deleting an Oculus Quest 2 Account
There are three main ways to remove your account information from Oculus Quest 2. The first method involves either using your hands to physically perform a factory reset of your device or using the Oculus Quest 2 app to perform a factory reset on your device.
Finally, you can sign in to your account on the Oculus website while using your phone, app, or laptop to delete all of your data and the device from your Facebook account.
How to Perform a Physical Factory Reset on Your Oculus Quest 2
To perform a physical factory reset, you will need to start by turning off your headset. The next thing you will need to do is hold down the power and volume buttons at the same time until the boot screen loads on your headset. You will need to use the volume buttons on your headset to navigate the boot menu.
You will need to highlight “factory reset” and then press the power button to select it. Then highlight yes and select the power button to initiate the factory reset. Once that has been done, all your information on the system will be wiped clean.
How to Perform a Digital Factory Reset Using the Oculus Quest Mobile App
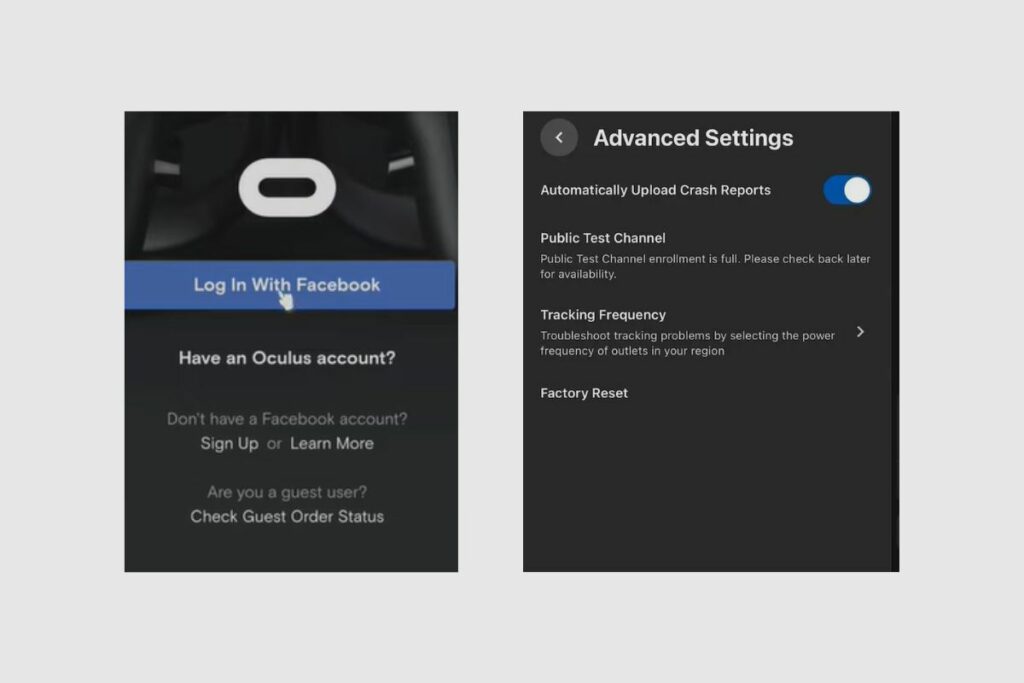
To perform a digital factory reset using your phone. You will need to start by opening the Oculus/Meta Quest app on your phone. Then you will need to tap the bottom menu, then tap devices, then tap the headset that you want to factory reset. Then tap advanced settings, then tap factory reset, then tap the reset button. Once that is done, it will initiate the factory reset.
Please keep in mind that performing a factory reset is irreversible and will remove all account information, downloaded games, and content from the headset. However, performing a factory reset on your headset will not remove content you have purchased from your Meta account.
How to Remove Your Oculus Quest 2 Device from Your Facebook Account
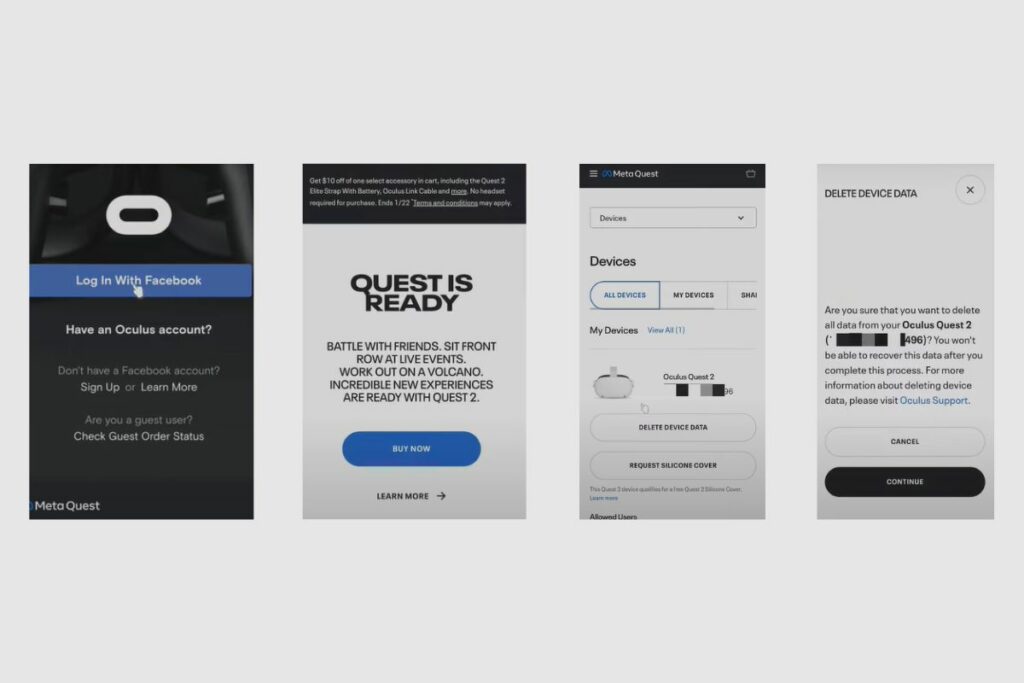
The first thing you will need to do is log into your account, either by using your mobile device or laptop. All you need to do is go to oculus.com and click on the login page and then log in to your account by using your username and password to login in.
Once you have logged in, you can click on the menu button, which is the three bars on the side of your home page. Then you will need to click on the dropdown next to your user ID. From there, you can click on devices.
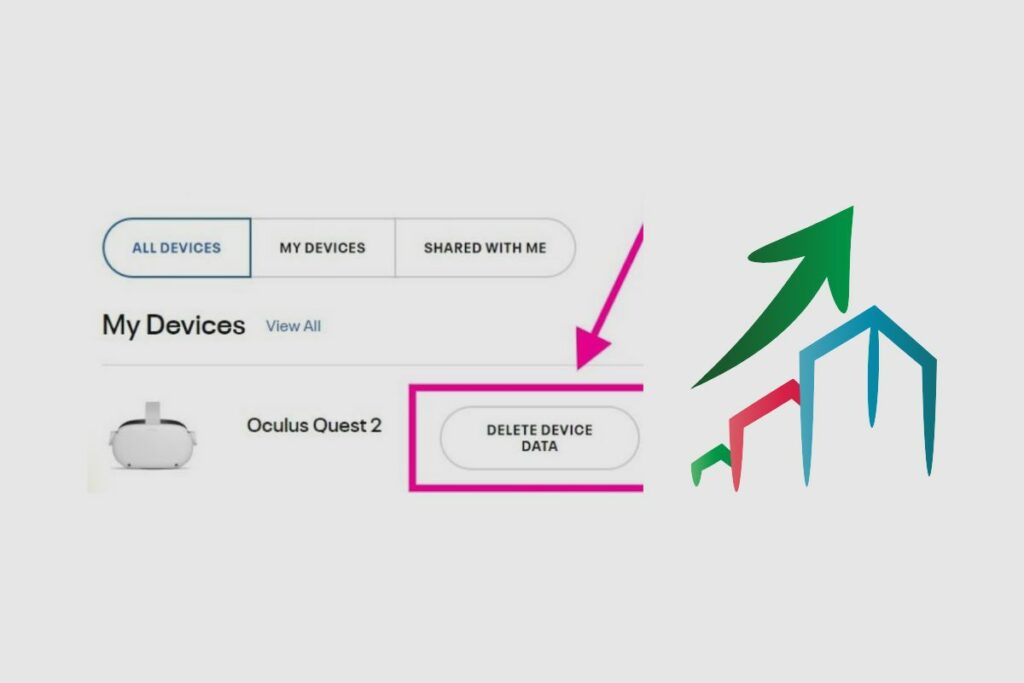
Then you should be able to see the number of devices that are connected to your Oculus account. You must verify the device’s serial number to make sure it is the right one if you want to know which device to delete. You can either check the headset itself or the box it came in for the device serial number.
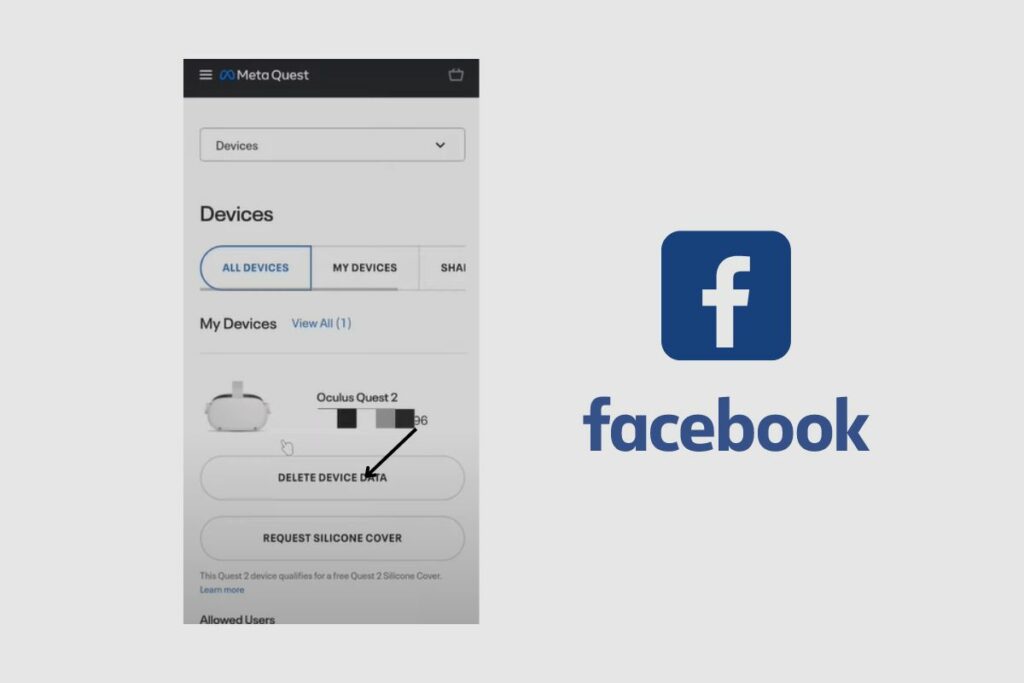
Once you have confirmed the specific device you wish to delete, you will need to click on “delete device data.” Once you click on it, you will be met with a prompt that says, “Are you sure you wish to delete all data from your Oculus Quest 2?” “Because you will not be able to record this data after this process.”
If you are sure you want to delete all the data from the device, you can click on “Continue.” Once you click on “Continue,” you will need to verify that it is your account by providing them with the email address you registered with the Oculus account. Then you will need to use the code that was sent to your email address to activate the deletion process.
Once you have successfully entered the code and the account has been successfully verified, you will be met with the same message as before, asking you whether or not you are sure you want to delete the device from your account. You will also not see the device on your list of devices again.
Once you click on “confirm,” the device will be removed from your account, and all data will be erased from the device. This is a permanent process, so if you have any information you want to keep, you will need to make sure that it is backed up on cloud storage.
How to Backup your Oculus Quest to Data to Cloud Storage
The first thing you will want to do is click on “Quick Settings” in your Oculus menu, then click on “Settings,” then click on “System,” then click on “Backup,” and from there, you can activate “Cloud Backup” so that your information is automatically stored on cloud servers and you won’t lose your data. However, you must have a stable internet connection for your data to be backed up to the cloud.
Benefits of Deleting an Oculus Quest 2 Account
Deleting your account can be beneficial to you in a few ways;
1. It allows you to safe card your details and information safe if your account may have been hacked or your device was stolen. Many of us have very sensitive information on our Oculus accounts. Credit card information and other sensitive information can be found on our oculus accounts, so the ability to remotely delete your account allows you to keep your information and data safe.
2. It gives you a chance to resell your Oculus Quest 2; Since you can remove all of your information from the headset, you can sell it without thinking about the safety of your personal data. The same also applies to giving it away.
3. If your data is backed up, then it will allow you to smoothly transition into a newer model when Meta inevitably releases a new headset.
Troubleshooting Oculus Quest 2 Account Deletion Issues?
Sometimes you may try to delete your account, but it may not be working. What could be the cause, and how can you fix it?
If your account refuses to be deleted, it could be that your internet connection is unstable or that your data is not being deleted or sent to the Oculus server. You may need to check the quality of your internet connection or reset your router to resolve this issue. It could also mean that your data has run out, and you’ll need to buy another.
If the problem with account deletion persists, you may need to perform a hard reset on your Oculus Quest headset. To perform a hard reset, you must first turn off your headset. Then, simultaneously press the power and volume buttons on your headset until the boot screen appears. To navigate the boot menu, use the volume buttons on your headset.
To select “factory reset,” highlight it and then press the power button. Then, select yes and press the power button to begin the factory reset. After that, all of your information on the system will be erased. If your account is still not deleted, you may need to take it to a Meta office for maintenance.
Conclusion
Deleting your Oculus Quest 2 account is a very simple process. All you have to do is follow the steps I have provided in this article, and you should be good to go when trying to delete your account. I hope you found this article very useful. If you have any more problems, do let me know how it goes in the comment section, and I will do my best to answer them as soon as possible. Thank you so much for reading this article. I hope you enjoyed reading this as much as I did writing it.