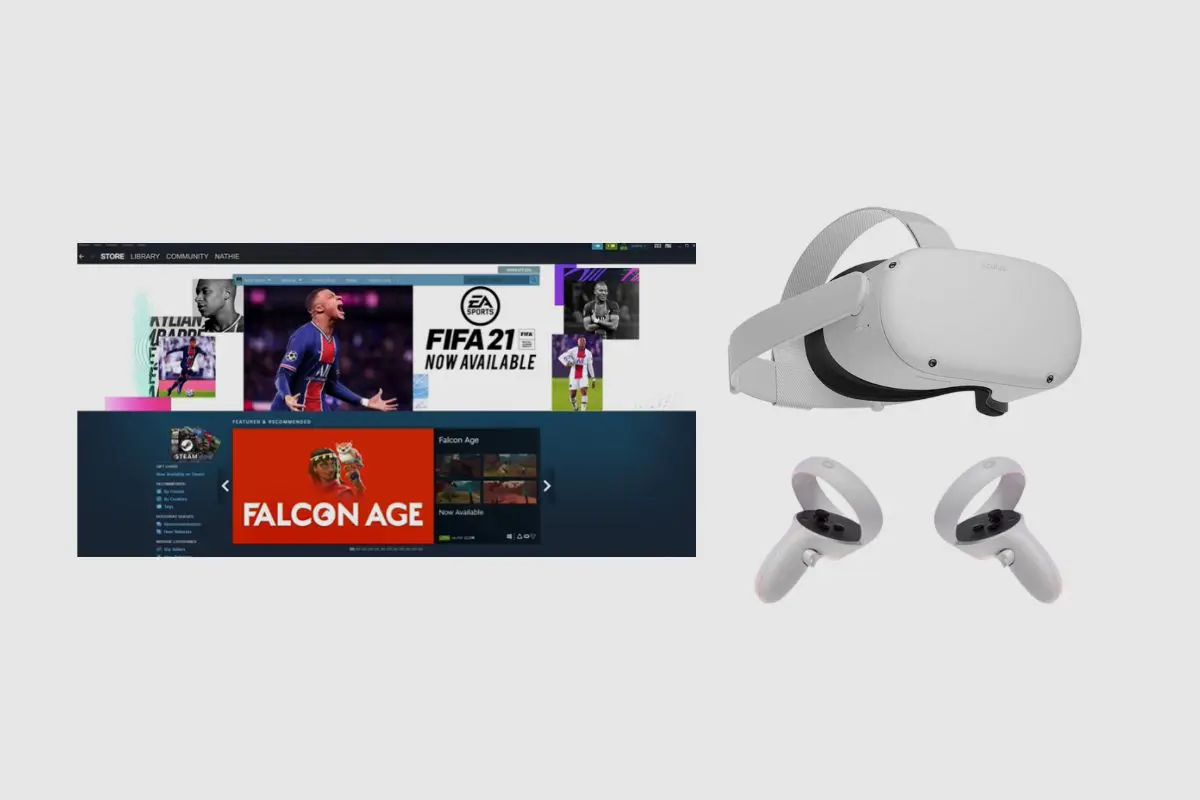
To get Steam on Oculus Quest 2 without a PC, you can use cloud gaming services like Plutosphere or Shadow PC. These services allow you to access a virtual gaming PC through your Quest 2, enabling you to play Steam VR games without owning a physical PC. To get Steam on Oculus Quest 2 without a PC, you can use cloud gaming services like Plutosphere or Shadow PC. These services allow you to access a virtual gaming PC through your Quest 2, enabling you to play Steam VR games without owning a physical PC. Additionally, you can enjoy the Oculus Quest 2 preinstalled games that come with the device while seamlessly switching to your cloud gaming sessions. This versatile approach not only expands your gaming library but also provides the freedom to play immersive titles wherever you have an internet connection.
However, you’ll need a strong internet connection for the best experience, and you may need to sideload apps or use Virtual Desktop to set it up.
Steps to getting Steam on Oculus Quest 2 Without a PC
There are two ways to connect your Oculus Quest 2 to Steam without using a PC. The first way involves either downloading the Plutosphere app onto your phone or downloading the Shadow PC app to do it.
However, getting Steam to work on your Oculus Quest 2 is not an easy process, and it involves you utilising a few workarounds to get it to work. However, if you are patient, you can get your Steam to work well on your Oculus Quest 2.

Let’s start with PlutoSphere
Plutoshpere is a cloud streaming service that allows its users to access VR games via their pre-installed Steam VR store on their app, which allows you to stream VR games via their virtual cloud PC, which is run on Amazon web services. PlutoSphere makes use of cloud computing to provide users with a virtual PC that they can access for a monthly subscription fee. This will allow users to make use of their cloud technology and stream PC games onto their VR headsets.
PlutoSphere Requirements
To begin using PlutosSphere, ensure that you have a 5 GHz Wi-Fi 6 router and that your headset is connected to the router. You can check if your VR headsets are connected to your router by clicking on settings in the left-hand menu of the headset, choosing your Wi-Fi connection, and connecting to your router.
After that, you will need to have at least 50 Mbps for your internet speed because streaming VR games requires a fast internet connection to reduce latency and stuttering. You can check your internet speeds on the Quest 2 by going to speedtest.net and starting a speed test to see how fast your internet is.
Finally, determine whether you have a PING of at least 75 ms or less to an Amazon Web Services region. You can test that on your Oculus Quest 2 by going to cloudping.cloud/AWS and waiting until it finishes testing for your PING speeds. Unfortunately, CloudFront does not count, so if everything loaded below it is less than 75 ms, then you should be fine.
You can use your phone or tablet to create a PlutoSphere account and connect it to your Oculus Quest 2. So here is how you get started:

Creating a PlutoSphere Account
To create a PlutoSphere account, you will need to go to the PlutoSphere website or click on this link: dashboard.pluto.app. Please make sure to turn off any add-blockers on your browser because they clash and affect the PlutoSphere website.
Once your account has been created, you can log into your account on the main dashboard, and then you will need to verify your account by entering your phone number and then entering the code you’ll receive by text.
You will need to make sure you have some Pluto tokens; if you don’t have any, you can buy some by clicking the “Get Tokens” button. Then you will be asked to fill out your Pluto username, and then you can proceed to buy some tokens at $2 for 600 tokens, which equates to about an hour of use. Once you have some tokens, you can see them at the top right of your dashboard.
Once that is done, you can go back to the Pluto dashboard and then go ahead and click on the “Start” button. Then your virtual PC should be created, including all the necessary software to start using SteamVR right away. This process can take about 10–15 minutes, but you can check on its status with the information bar, which says “booting up” followed by “connecting.”
The PlutoSphere app needs to be downloaded and installed on your Oculus Quest 2. You can do this by connecting your Quest to your PC with a USB-C cable. Then launch SideQuest and make sure it’s connected to your PC. Then search for PlutoSphere on your browser, then download and install it on your quest by clicking on the “Download app” button. Then wait until it finishes. Then check your currently installed apps and search for PlutoSphere. Once you see the PlutoSphere package, it has been downloaded.
Then you will need to go back to your Pluto dashboard on your phone or tablet and check if the status has changed to “connected.” If it has, then you are ready to go. The next thing you will have to do is click the button with the little computer icon on it.
Then your virtual PC should launch in a separate browser tab, which should load within 30 seconds. You should receive a nice welcome message, which you can close. Once that has been done, you should be looking at what is essentially a normal Windows PC, except for the blue bar at the left that you can click on to get various editing options for your virtual PC, like setting the video quality for VR, and the button at the bottom of the bar that you can click to bring up your keyboard should you wish to type anything.
Now launch Steam on your virtual browser, and then launch Steam VR too so that it can work on your VR headset. After that, go to Steam and download and install the game you want to play. Once that is done, you can now switch to your VR headset and launch Plutoshpere by clicking on “Apps,” clicking the dropdown, selecting “unknown sources,” and finding Plutosphere. Then it will open your Oculus web browser and tell you to log in to your Plutoshpere account, but you will only need to do that once.
After you log in, you will see the message “registering Pluto device,” and then it should show “success.” If nothing happens when you launch Pluto, then make sure you don’t have any other browsers installed on your Quest because they will clash with the Pluto app and stop it from working. Once that is done and you get a “success” message, go back to your app library and then run PlutoSphere again.
You should see a black screen, and after a few moments, you should hear some elevator music. Then SteamVR should launch, and you can pick any game you want to play, so long as it has been installed. If all you hear is elevator music and the app closes, restart your Oculus headsets and try again.

Pros and Cons of PlutoSphere
Pros:
- PlutoSphere has SteamVR pre-installed
- It is more widely available due to using Amazon Web Services
- PlutoSphere has high graphical fidelity
Cons:
- PlutoSphere doesn’t have persistent storage included in its payment structure
- PlutoSphere is still in its beta phase
- PlutoSphere does not have a trial period
- PlutoSphere uses an hourly-based payment structure ($2 = 1Hr)
Shadow PC
Shadow PC is a platform that, like PlutoShpere, provides users with a virtual PC that they can use to perform a variety of tasks as long as they pay a monthly access fee. Most people use Shadow PC to stream VR games to their Oculus Quest 2 because it provides them with a chance to play games that they otherwise wouldn’t have been able to play.
Most of the time, this is because they don’t have a powerful PC that they can use to play the latest high-end VR games, especially the ones on Steam. So, using a virtual PC that has the right system requirements for playing most AAA VR games is a good way to go.
So, as long as you have a fast enough internet connection speed and you can pay a monthly access fee of about $30 a month, then you can play as many VR games as you like. However, one of the major drawbacks to Shadow PC is that it is only available in some parts of the US and Europe, so you will have to check the Shadow PC website to see if it is available in your state or country.

How to Create a Shadow PC account?
With Shadow VR, you do not need anything other than your Oculus Quest 2 VR headset to start playing games. You must first install the SideQuest launcher on your VR headset before downloading the Shadow PC app.
Then, you will need to connect your Quest to your laptop or tablet so that it can run through an internet connection and create your Shadow PC account from there. Once that is done, you will not have to run the process again, and you can run the whole process on your Oculus Quest 2.
When you run Shadow PC, you will have the option of picking between the base model option or the new power upgrade. The base shadow PC option is equivalent to a gaming PC with a GTX 1080 graphics card, while the new Power Upgrade has more up-to-date hardware, equivalent to a gaming PC with an RTX 3070.
You must select the tier that best fits your budget, as well as any additional storage you want to include with your Shadow PC at an additional cost. After you hit “continue,” they will want you to create your own shadow account to purchase your shadow machine.
Once you have created your shadow account, you will be directed to billing, where you will need to fill out your personal and billing information to continue. You will need to choose a payment method to continue your purchase of the shadow machine. However, Shadow PC will only accept credit and debit cards for now, but they have stated that they will add a PayPal option soon.
Once your purchase has been completed, they will show you a confirmation screen and send you a confirmation email. It will take about an hour for your Shadow PC to be ready, but once it is, they will send you a confirmation email.
Then, once your shadow machine is ready, you will need to launch the shadow PC on your Oculus Quest, download Steam from there, and then launch Steam and SteamVR. From there, you can launch SteamVR and install all the games you would like to play, and from there, you can begin your Shadow PC journey.
Shadow PC Requirements
To begin using Shadow PC, ensure that you have a 5 GHz Wi-Fi 6 router and that your headset is connected to the router. You can check if your VR headsets are connected to your router by going to the settings menu in the headset, selecting your Wi-Fi connection, and connecting to your router.
After that, your internet speed must be at least 50 Mbps because streaming VR games requires a fast internet connection to reduce latency and stuttering. On the Oculus Quest 2, you can check your internet speeds by going to speedtest.net and starting a speed test to see how fast your internet is.

Pros and Cons of Shadow PC
Pros:
Shadow PC has a single $30 monthly subscription
Shadow PC’s monthly payment fees include persistent storage.
Shadow PC can switch to a 2D desktop
Shadow PC is more user-friendly
Cons:
Shadow PC does not have a trial period
Shadow PC is not yet widely available
Shadow PC is not as graphically impressive as Pluto
Conclusion
Connecting your Oculus Quest 2 to Steam without using your laptop or PC to do it can be a very complicated thing. However, if you follow the steps I have listed out for you, then you should be able to connect your Oculus Quest to either a Shadow PC or even the PlutoSphere, and you can have an amazing time playing all of the awesome titles on Steam and even other services like Epic Games, all without even touching or buying a PC. Thank you so much for reading this; please leave all of your questions in the comment section, and I will get to them as soon as I can.