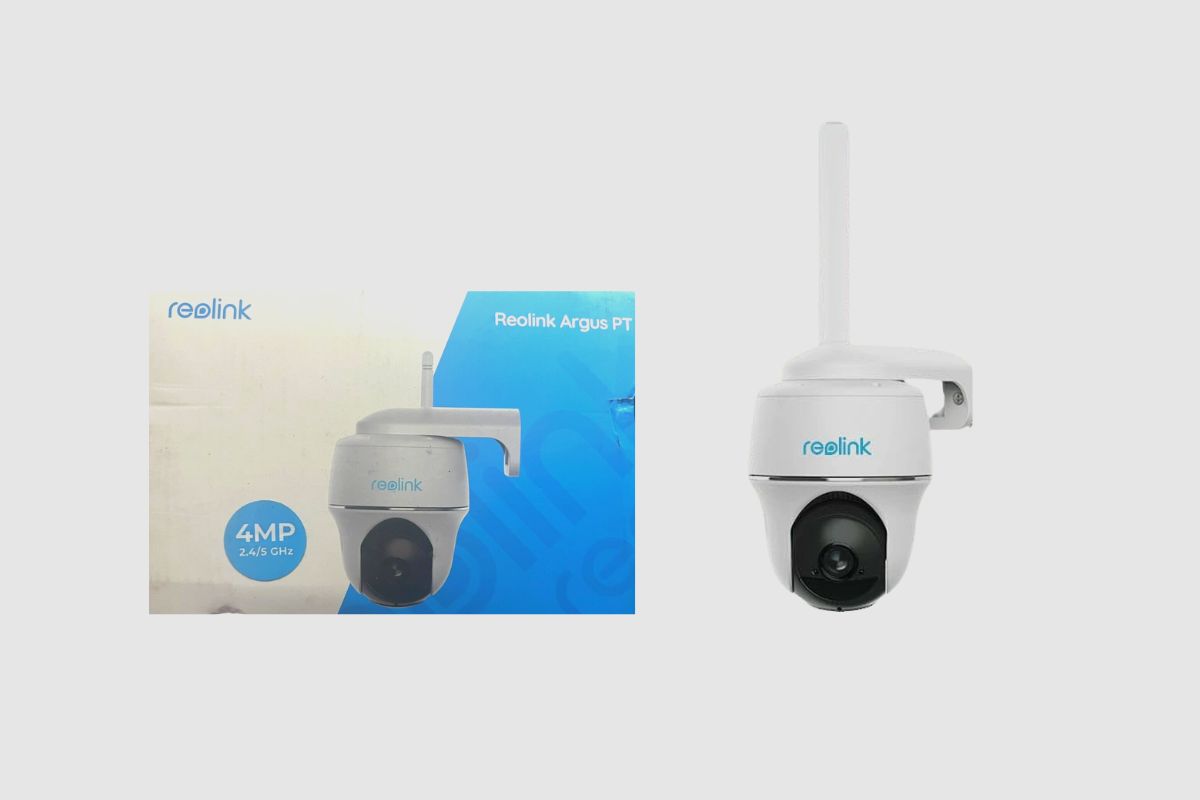
I’ll be testing and reviewing the Reolink Argus PT security camera with solar panels today. Reolink’s 100% wire-free battery-powered WIFI security camera has a pan and tilt feature and is IP65 waterproof rated.
In this article, I’ll test the cameras’ daytime and nighttime video and audio quality as well as some of their key features. So that I can demonstrate whether or not this is the right security camera for you.
| Specs | Features |
| Camera; 1 1080p FHD with a Smart PIR motion sensor and Starlight Night vision | It can Pan to 355 degrees and tilt to 140 degrees. With a 155-degree field of view, |
| One Non-Removable Rechargeable Battery with Optional Solar Panel | IP65 Weatherproof, 100% Wire-free |
| 1 Speaker and Microphone | 2-way communication, Runs on 2.4 Gigahertz WiFi |
- The Unboxing – Reolink Argus PT Security Camera
- Setup and Reolink App
- The Outside Installation Process.
- App Features
- Performance
- Buying Guide – Reolink Argus PT Security Camera
- Storage
- What are Some of the Pros and Cons of Using the Reolink Argus PT Security Camera
- Pros
- Cons
- Conclusion
- FAQs – Reolink Argus PT Security Camera
- How Long Does the Reolink Argus PT Battery Last?
- Does the Reolink Argus PT Security Camera Need WIFI?
- Does the Reolink Argus PT Record All the Time?

The Unboxing – Reolink Argus PT Security Camera
When you first open the box, the paperwork proving your ownership of the security camera, along with the manual and a Reolink sticker, would be what you would see. Then you have the mounting template, a quick start guide, an antenna, a micro-USB cable, some mounting screws and some plastic anchors. You also get a reset push tool as well as the mounting bracket. Then Finally, we get to the camera.
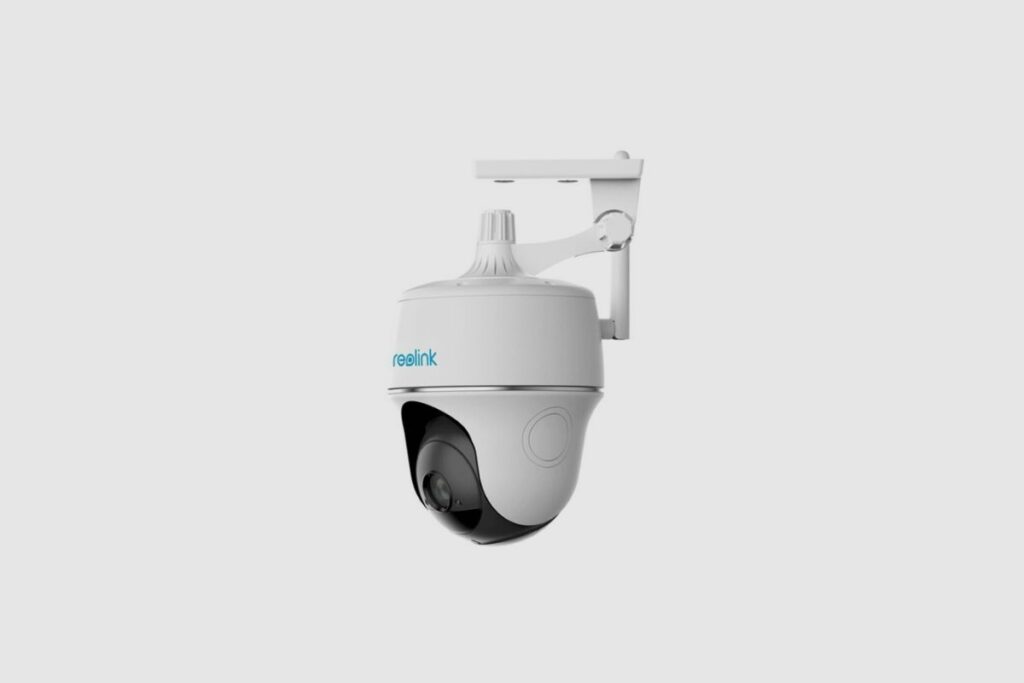
The camera has a PIR sensor, sensor lights and an infrared LED light all on the front face of the camera. If you tilt the camera up, you should see a rubber flap for the micro-SD slot (SD card is sold separately) and then off to the side; you can see a small hole to reset the camera. As well as lift the camera, you can find the speaker. Near the base of the camera, you can find a flap with power listed on it and then on the bottom of the camera; we have a quarter 20 screw hole to attach the camera to the mounting bracket.
Setup and Reolink App
The setup process is quite a simple process, and it involves you stalling the Reolink App on your phone.
- The First thing to do is screw in the Antenna
- Then download and Log in to the Reolink app
- Click the Plus sign at the top right corner
- Scan the QR Code at the bottom of the camera
- Click the connect to WIFI
- Then turn it on Click the I heard a voice prompt
- Then you can sign into your WIFI network
- Then show the QR code that has been generated on your phone to the camera so that it can scan it
- Then click on successful connection
- Finally you can create a login and password for your camera controls as well as create a name for the camera.
After that, you should be all done.
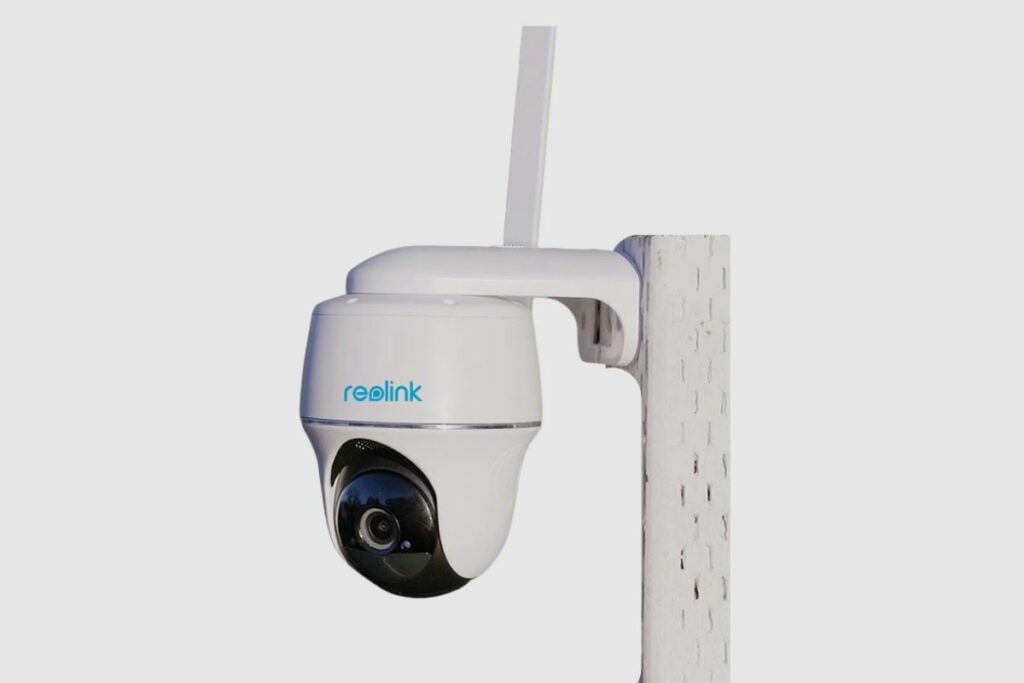
The Outside Installation Process.
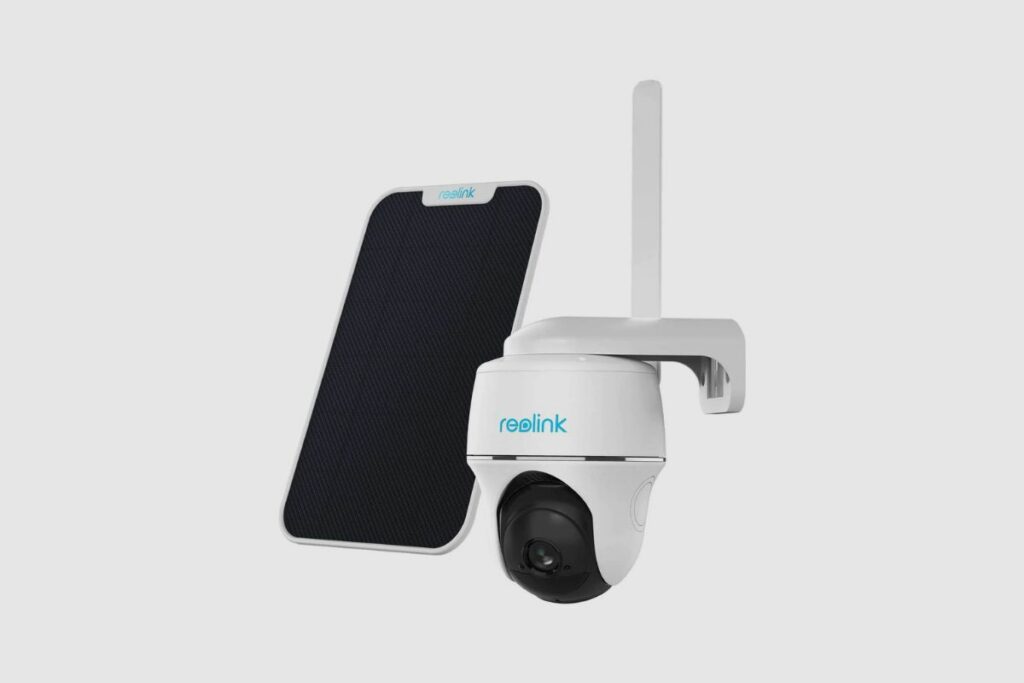
The process is very simple; all you have to do is use the mounting bracket and the mounting guide that was provided to you so you can Install both the camera and the solar panel if you choose to buy it.
The first thing to do is find the best place to place the camera and the solar panel, both of which are slightly heavy. Therefore, you would need to put them in a very secure location where you can see the area you want to protect well and also get a lot of sunlight.
So once your location of choice has been found all you have to do is use your mounting frame to draw out and identify where you will drill your holes into the wall or rim of your roof. After that, you can drill your screws into the designated points of entry and place your mounting bracket.
The next step is to do the same for your solar panel, which could be close to or far away from your security camera. It all depends on the length of your charging cable. After that, you should screw in the solar panel and then mount it. Given that it will be next to the security camera and you don’t want it to obstruct the camera’s view, I believe this is the best way to go.
Once the wall mount is in place, screw in your solar panel with your 20cm mounting screw and attach the solar panel, which should be tilted at a 45-degree angle to receive the most sunlight during the day. After that, simply screw in your security camera, and you should be done.
App Features
On the App side of things, Reolink really stocked the camera with a lot of features;
On the main screen, we have the pause button, which allows us to pause the live view, and the camera icon, which allows us to take a snapshot of the current live view and save it to our phone. The video icon can record your live view and save it to your phone, as well as change the video quality for your current live viewing. It goes from fluent to stable-low to 1080p. To manually activate or deactivate the alarm, use the bell icon. The microphone is then used for two-way communication.
PT2 allows you to pan and tilt the camera, but the 1080p mode would cause a bit of lag. So, when you are the one in control of the camera, you might want to switch between low or fluency modes. Although the fluency mode still has a bit of lag, so the stable-low option is best. However, when you are downloading videos, irrespective of whatever resolution you are on, all your downloads will be on 1080p.
The PTR settings allow you to change your Post Motion Recording duration from between 8, 15, and 30 seconds. I stick with 30 seconds. A quick note is that all PMR videos are stored on the micro-SD, which is sold separately from your device.
The Alarm setting allows you to toggle on and off your alarm when the motion sensor has been tripped. Also, you can record your voice in place of the alarm, which lasts for about 5 seconds and can be placed on repeat at least 3 times.
Performance
Picture Quality
The Reolink Argus PT Security Camera is an above-average security camera with some advantages but also some disadvantages. I agree that nothing is perfect, but with this camera, when it gets some things right, it gets them right, and when it doesn’t, it completely misses the mark.
I think the 1080p camera is alright, but they still don’t feel like the best 1080p cameras in the world. I think I have seen some better cameras on a few ring video cameras and some simply safe models too. However, that doesn’t detract from the fact that it is still a good camera with some interesting features.
Pan and Tilt
The Pan and Tilt functions are excellent, but it lacks a bookmark setting that would allow you to save a specific viewing angle and a specific position and allows you to switch between specific angles you would like to see. It also does not have a motion tracking function which would allow the camera to track anything that would trip the motion alert.
It means that if an individual was not deterred by the alarm or the camera itself, they could not be followed by the panning camera. The solar panel is a necessary option to pick up because the battery is not the best. So, having a solar panel that would always keep the battery charged and stop you from having to charge the battery on the security camera.
It is still a solid camera which has some excellent features, like its night vision and motion tracking, but it could do with a bit more from Reolink if they want this security camera to be the best that it could be.
The Night Vision
The Reolink Argus PT security camera has an excellent night vision mode, and once activated, I could see everything that happened in my backyard. My backyard was well-lit, and the camera could see everything in its field of vision. When the night vision is turned off, however, the area covered by the camera is a little difficult to see, especially if you don’t have a floodlight or a well-lit area of focus.
The Motion Detect
When set to 90% sensitivity, the motion sensor is incredibly sensitive and will alert you whenever a reasonably large object with a distinctive heat signature approaches within 30 yards of it. The motion sensor’s impressive maximum sensitivity allows it to detect objects up to 40 yards away from its monitoring area. Additionally, it has a highly effective false alarm mode that allows for animals and insects.
No matter what passed in front of its field of vision and motion sensor point—a cat or a rat—I never received a false alarm when it was turned on. This was the motion sensor’s most crucial feature to me because it meant that not everything that passed in front of the camera would trigger an alarm or alert. This setting is crucial to me because there are many cats in my neighbourhood, and I would have been furious if I had to receive an alarm each time a cat went into our trash can.
Buying Guide – Reolink Argus PT Security Camera
The Argus PT Security Camera is a very useful security camera. I found it on Amazon for about $80, including the solar panel, which felt like a steal to me. I think $80 is a fair price, and I wouldn’t underrate that price because it represents good value for money.
I also found it at Walmart for a similar price, but the solar panel was a further $25 on top, which rounded it up to about $105, which is still a fair price. If you could also get a Mr Beams spotlight, it should also improve your whole experience with the security camera. I found the spotlight for $30 on Amazon, which is a really fair price, to be honest.
Storage
The Argus PT requires an SD card to save video and images locally or you can opt for a paid Reolink cloud server that would require a WIFI connection to be uploaded.
What are Some of the Pros and Cons of Using the Reolink Argus PT Security Camera
Pros
- Alerts are almost instantaneous
- No false alarms
- The sensors are very responsive and sensitive.
Cons
- The Mounting frame is very flimsy,
- You can only Pan and Tilt manually as there are no bookmarks
- No Auto-tracing
- The speakers are not loud.
Conclusion
A reliable 1080p security camera is the Reolink Argus PT. It might not have the most up-to-date specs or features, but what it does have is a strong construction, a standout design, and dependable features. I’m hoping they develop a 4K camera with a few more modern features and a wider motion sensor range. If you did, then I sincerely hope you found it helpful. If you plan to purchase the Reolink Argus PT Security camera, kindly let me know in the comments.
FAQs – Reolink Argus PT Security Camera
How Long Does the Reolink Argus PT Battery Last?
The Reolink Argus PT security camera will last about 1-4 weeks on a single charge, depending on your working environment and connection frequency. It is highly recommended that you use Reolink Solar Panel as a companion to ensure that your camera gets an uninterrupted power supply.
Does the Reolink Argus PT Security Camera Need WIFI?
The Reolink Argus PT requires a WIFI connection so that you can run its setup and you can use it to control the security camera.
Does the Reolink Argus PT Record All the Time?
The Argus PT security camera records every image all the time, but it does not save anything until the Motion Sensor is tripped, and then it saves only what you have told it to save, depending on your settings, which could be anything from 10-30 seconds. However, you can manually save videos yourself from your phone, which would also be stored on your phone.