
The SD card on a Reolink Argus PT is one of the most important parts of the Reolink Argus PT camera. This is because it allows you to store all of your saved videos and screenshots you have that have tripped its motion sensors. This is useful because it can help you identify people who might have tried to steal from you, as you could show the police your videos, and it can also help you track your pets at home when you’re not around.
Having one installed on your Reolink Argus PT is vital to providing your home with proper security and protection, as well as providing you with an opportunity to review high-resolution videos of things that might have tripped its motion sensor. So, in this article, I will be showing you how to install an SD card into your Reolink Argus PT security camera.
How To Install a Reolink Argus PT SD card?
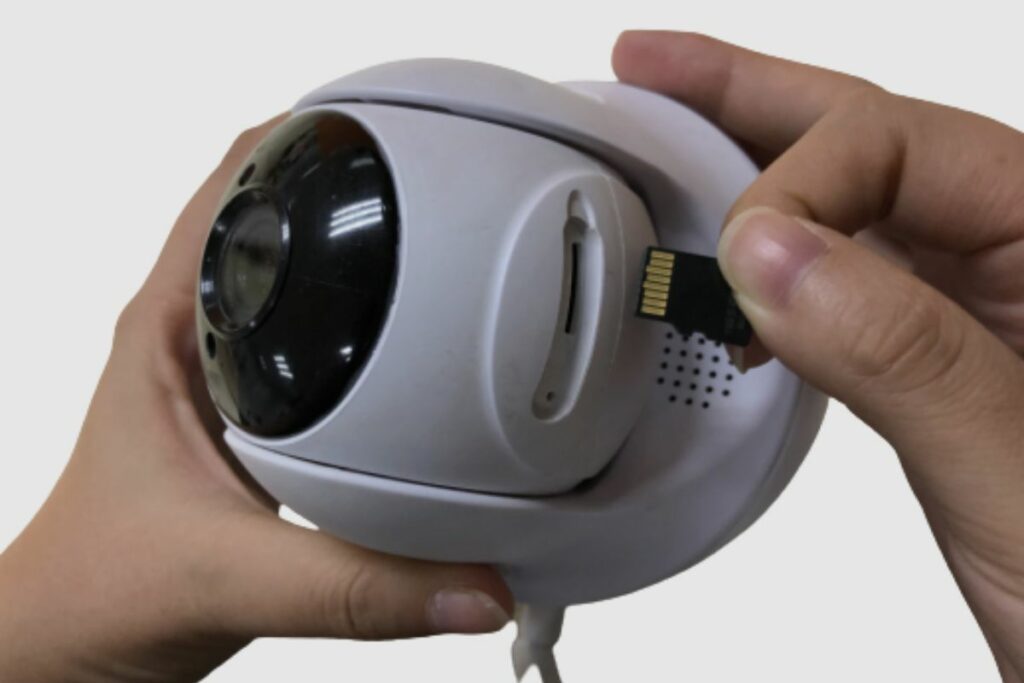
To install your SD card into your Reolink Argus PT, you would have to find the SD card slot, which is located just below the main camera lens. It is covered by a waterproof flap which has an SD card sign on top of it. After you find the SD card slot, you just have to slide your SD card inside of it. Make sure you slot the SD card with the chip side facing downwards. It should take about a few seconds for the SD card to be scanned and read onto the SD card.
Following that, check your Reolink app to see if the Reolink Argus PT can recognise the SD card. If the SD card is properly installed and recognised, you can proceed to the camera’s settings page. Storage should be visible at the top of the page, and you should be able to see how much space is available on the SD card.
After that, you can check and see if you will save a video by using the record button and your live screen view. Once your video has been saved onto the SD card, you should try and remove it from your security camera and then load it onto either your phone or laptop to see if you can watch the video you recorded. If you can watch the video you recorded, then the SD card works.
How Do I Format a Reolink SD Card?
To format an SD card on your Reolink Argus PT, you would need to go to the Reolink app. Then tap on the device info bar and then go to storage, then tap on the format button just below the amount of storage on show.
It would send you an “are you sure” prompt, just to make sure that you actually want to format the SD card. Then you can tap ok. Once the camera has rebooted itself, the SD card should be formatted.
The second way to format your SD card on your Reolink camera is by using the Reolink Client site. The first thing you would want to do is go to the settings page of your camera, then go to storage. From there, you should be able to see the status of the SD card.
To simply format the card, you would need to click on the bar above the SD card status and then click on format. You should be met with the same “are you sure” prompt; if you are sure, then click on format SD card. After that, your camera should reboot itself, and it should be formatted during that process.
How Do I remove the SD Card from a Reolink Camera?
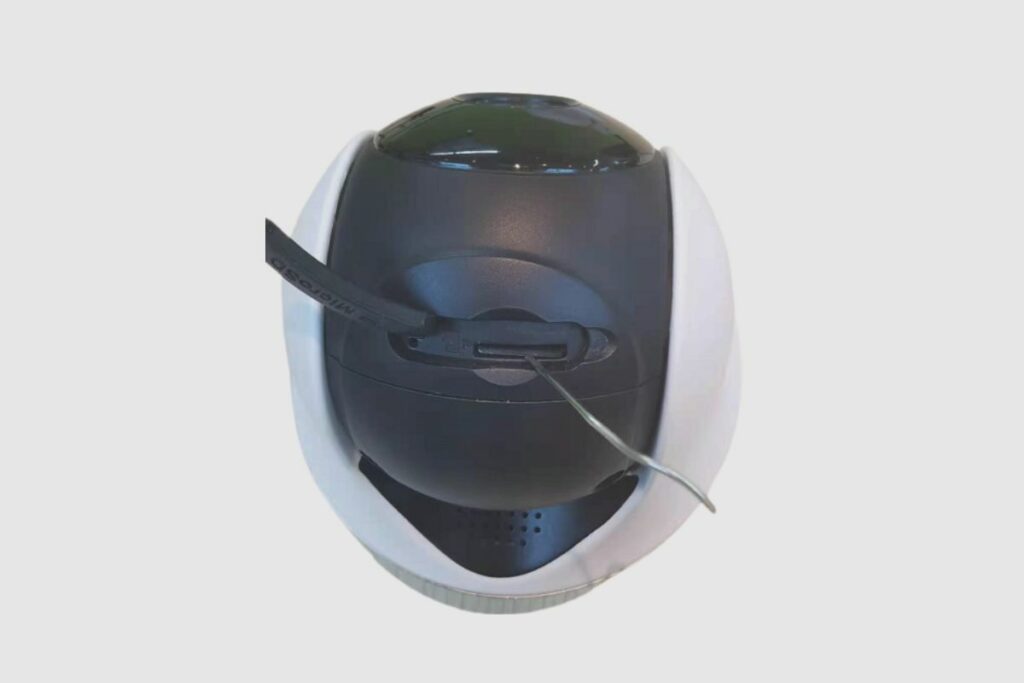
To remove your SD card from the Reolink security camera, first locate it and then open the waterproof flap with the SD card sign on it. Then simply push on the SD card, and it should pop out just enough for you to remove it with your fingers.
How Do I troubleshoot a Reolink Argus PT SD card?
If your camera cannot detect the SD card, there are a few options you can make use of to see if it is working;
- The first thing you can do is take the SD card out and insert it into another device and see if it works properly.
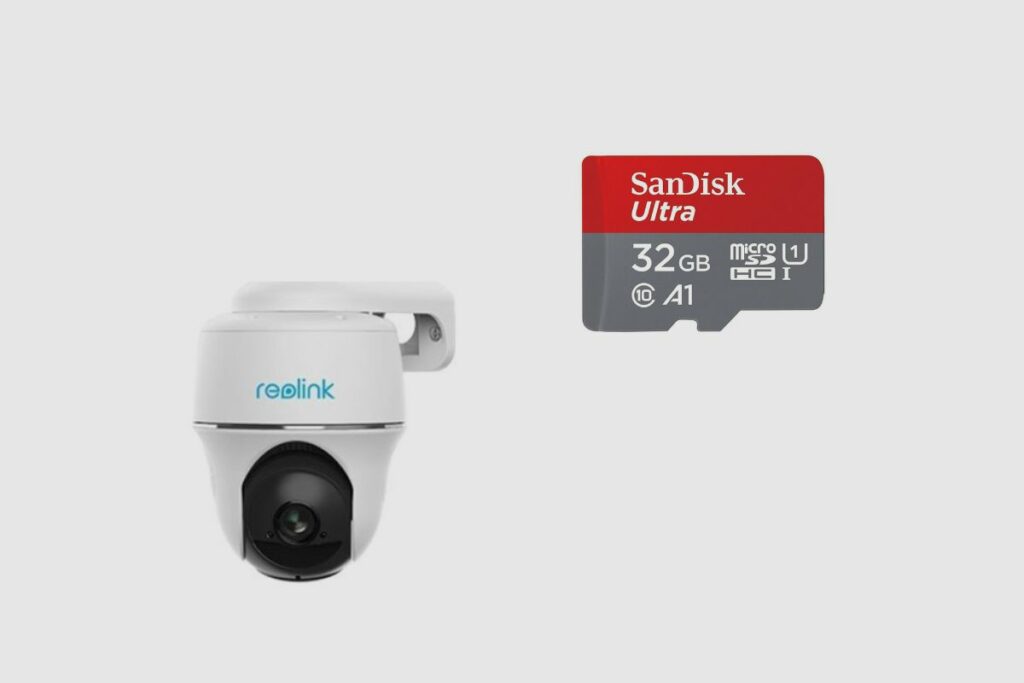
- The next thing to do would be to check and see if your SD card is compatible with your camera.
- Make sure you check to see if it is of the right capacity, read and write speed class, and format.
- Then finally, remove the SD card and then insert it back into the camera and then turn off the camera and then turn it back on to make sure it is correctly installed.
How Do I Set Up My Security Camera to Record Videos to the Micro SD Card?
To set up motion recordings or video capturing, the easiest way to do it is to launch it from your Reolink App. Once you open your Reolink app, go to the camera’s settings page and then tap on the camera recording.
Then enable it and then tap on schedule. You are also allowed to record both motion clips and 24/7 continuous videos using your SD card.
Then choose an alarm type and set up your camera to record footage only when it detects motion, person, or vehicle. You can also set up the specific times that the triggering events are captured. So, tap one of the time columns and then on the next page, you would need to long press to choose time periods and set the status to enable.
If you want your camera to record motion clips at the same times on other days, select the days under copy to the specific days you want the schedule repeated and then tap on save. The best part of motion recording is that it will continue to save the following-up footage after the triggering motion stops.
This is called the Post-Motion Recording, and you can set the duration to 8, 15, 30 or 60 seconds, which would provide you with the full information before and after the fact. You can also set up the overwrite option so that your camera will delete the oldest videos on your log and save them with the new one.
Conclusion
The Reolink Argus PT is a very solid wireless security camera, and I believe the SD card is by far the most important component of the Reolink Security Camera because of everything it allows you to do with it. From saving videos to an SD card or creating post-motion recording settings can all help you improve and keep your family and home safe.
I hope you learned how to install your SD card, format it, and understand all of the features that it supports. Please leave a comment to let me know how your installation goes.