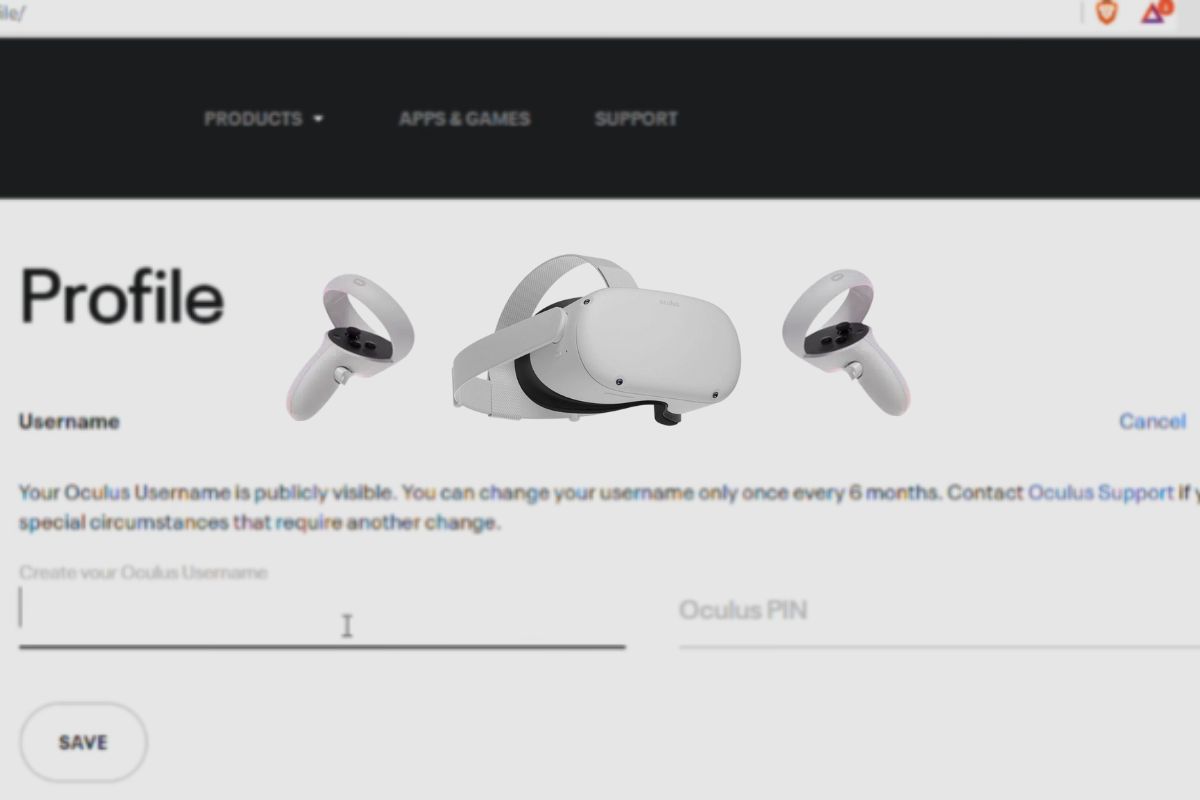
To change your username on the Oculus Quest 2, open the Meta Quest app on your phone and go to your profile. Tap on your current username, enter a new one, and save the changes. Remember that you can only change your username once every six months, so choose wisely.
The default username on the Oculus Quest 2 is often generic, and many users either forget to change it or don’t notice it. Personalizing your username helps make your Oculus Quest 2 truly your own. Changing your username is a simple process that only takes a few minutes if you know where to look and what to do.
Other Related Post: Meta Quest 2 Review.
Guide on Changing a Username on the Oculus Quest 2
For you to change your username on the Oculus Quest 2, you will need to go to the Oculus website and then log into your Oculus or Facebook account.
To do that, you will need to go to the top right-hand corner of your web browser and click on the profile picture icon on the Oculus homepage.
The next thing you will want to do is log into your Facebook account that you used to sign up for your Oculus Quest or Quest 2.
However, if you are already logged into Facebook on your browser, you can just go ahead and press “continue,” and then it should automatically log you into your Oculus account.
However, if you are not already logged into your Facebook account in your web browser, you must log into your Facebook account on the Oculus homepage to access your Oculus account.
Once you are logged in, you can go ahead and click on the profile picture icon at the top right-hand corner of the Oculus homepage. Once you do that, you should be taken to your Oculus account section.
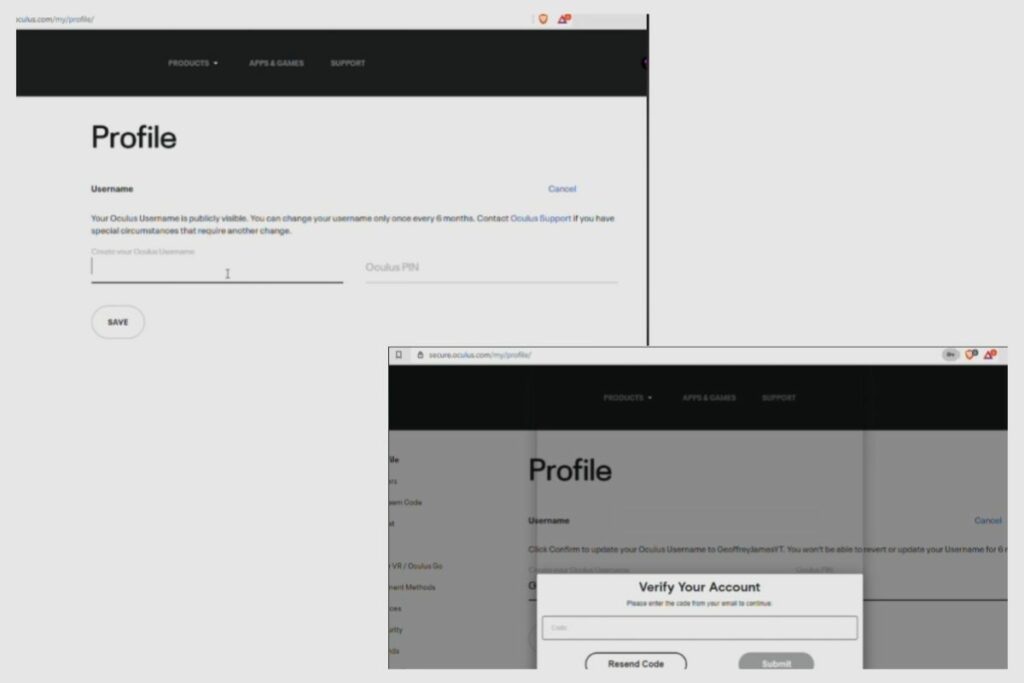
From there, you can click on “profile,” which should take you to your account profile on the Quest home page. Once there, you should be able to see “Username,” and then you will need to go to the side of it and press edit.
After you click “Edit,” a spot will be made available for you to update your username. It will prompt you for your Oculus account pin after you have changed your username as a security measure.
A verification email will be sent to the email address you have associated with your Oculus account once you have completed all the required modifications to your username.
After that, all you have to do is open your email and click the link Oculus sent you so they can confirm this is really your Oculus account once more.
Once all the verification has been done, your username should be changed, and you should be able to play all your favourite games on your Oculus Quest 2 with your personalised username.
Understanding the Sign-in Requirements for the Oculus Quest 2
Signing into the Oculus Quest 2 is a very simple process, and it doesn’t require much from you. The only thing you need to create an Oculus account is an email address and a Facebook account.
Once you have both of those things, you can just go ahead and sign in to your Oculus Quest 2 account.
How do I Create an Account for the Oculus Quest 2?
Creating an Oculus account for your Oculus Quest 2 is a very simple process, and I’m going to show you how to do it.
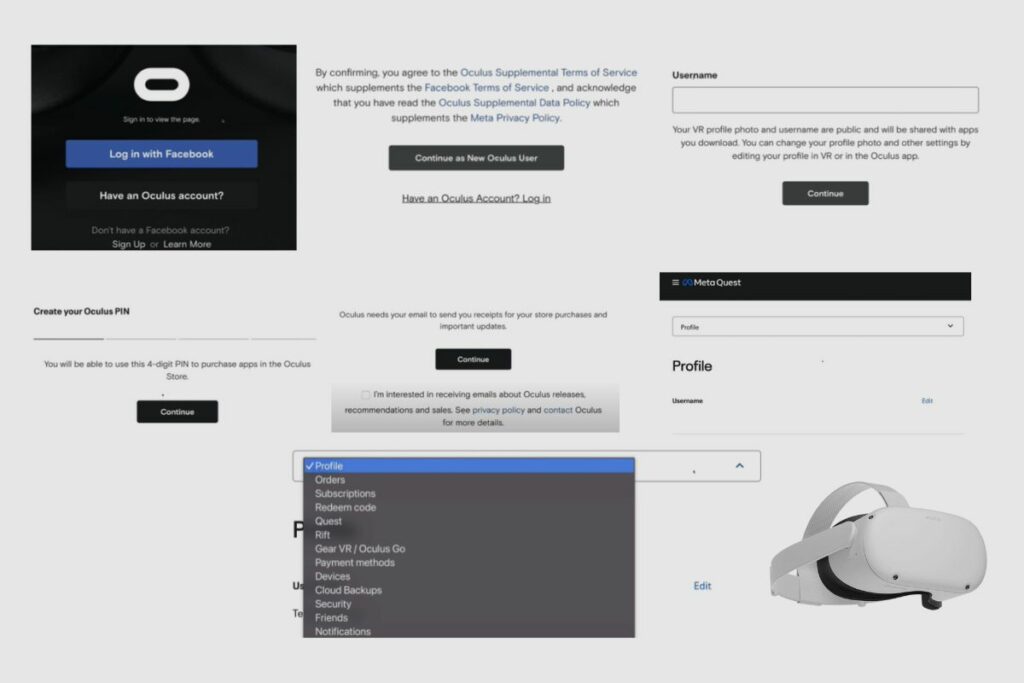
The first thing you will want to do when setting up or creating your Oculus account is to go to oculus.com, which should take you directly to store.facebook.com. If you already have a Facebook account and log into your web browser, you should see a small profile picture icon at the top right-hand corner of your screen.
You’re going to have to click on it, and from there, it should take you to the Facebook Oculus profile page, and from there you should see a message at the top of your screen saying you should visit the Oculus profile page, or you can scroll down until you see “Oculus settings.” Then you can click on it, and it should take you to the Oculus profile page, where you can just log in from Facebook.
If you don’t already have a Facebook account, you can easily set one up, which shouldn’t take long. All you have to do is click the “Facebook account option” sign-up button below the login. Creating a Facebook account is completely free, and you do not need to enter any credit card or debit card information.
So, once you’ve created or have an existing Facebook account, the next step is simple: simply click on “Log in using your Facebook account.” After logging in with your Facebook account, you will see a message on the screen asking if you want to keep using your Facebook username.
When you click it, you should be taken to a new page that says, “Welcome to Oculus.” Then you should scroll down until you see a button that says “Continue as a new Oculus user.” Once you click on “continue,” it will take you to another page to set up your VR profile.
From there, you can create a username that you like, click on “continue,” and then you can create an Oculus PIN that you are comfortable with and can remember. It should then ask you to confirm your email address, and then you can go ahead and click on “continue.” Once that is done, you should have created your Oculus account.
How to Change a Password for Your Oculus Quest 2 Account
Changing your password on your Oculus Quest 2 account is very simple to do, and I’m going to show you how. Oculus has made the process very simple because we all forget our passwords sometimes, so being able to change it quickly will give you access to all your games, apps, and subscriptions without having to create a new account.
The first thing you’re going to have to do is go to the Oculus website, click on the profile image icon at the top right-hand side of your screen, and then try to sign in.
Once that fails, a message will pop up below asking you if you have forgotten your password. You should click on it so that it can take you to another page, which will require you to input your registered email address so that you can reset your password.
After you have written down your email address, you can click on “reset password,” and it should send you an email with a reset pin that you can write down in the password section for your Oculus account, and you should be able to log into your account.
After that, it should provide you with a prompt telling you to create a new password, and this time create something you will remember.
How to Change Your Oculus Quest 2-PIN
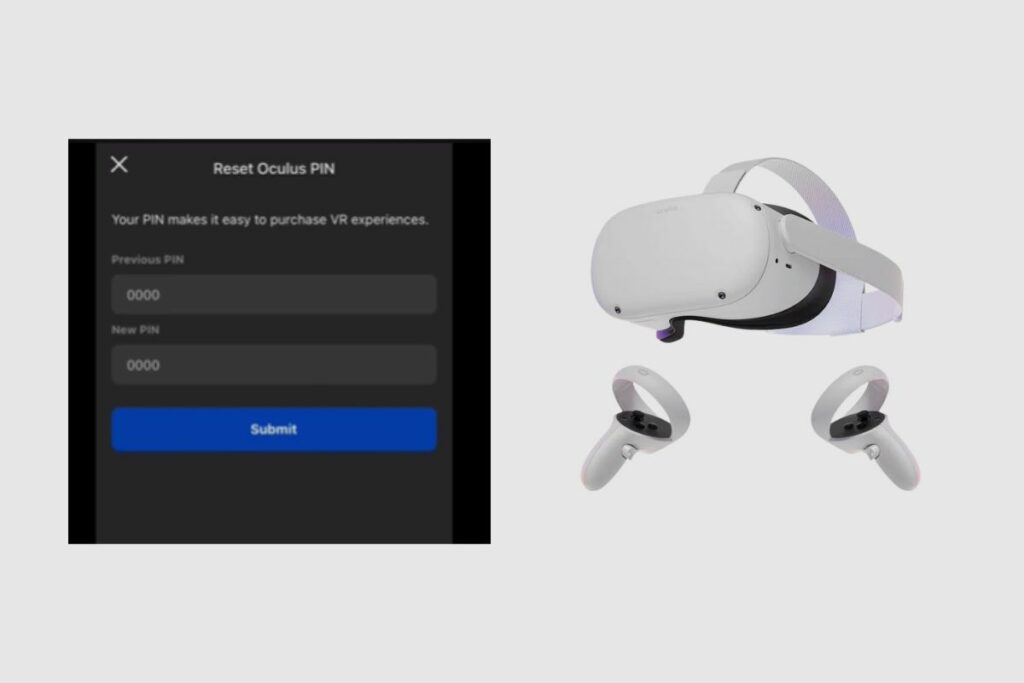
Changing your PIN for your Oculus Quest 2 account is a very simple process, and I’m going to show you how to do it. So, you may have forgotten your Oculus Quest 2 PIN when you created it the first time, and now you can’t get into your account or pay for your subscriptions. Oculus has made changing your PIN very simple because they know it is possible to forget your PIN. So, here’s how to reset your Oculus Quest 2 PIN.
To begin, go to the Oculus website and then click on the profile image icon in the upper right-hand corner of the screen. From there, it will prompt you to log in using your Facebook account that is connected to your Oculus account.
Once you have been logged in, it will take you to the Oculus home page, and then from there; you will click on “apps and games.”
From there, it will take you to the games page, and then from there; you will just need to select any game on the Oculus Quest store. Once the page for the game is loaded, you can then click on the “Buy” option. Once the purchase page loads up, you will need to input your pin to make the purchase.
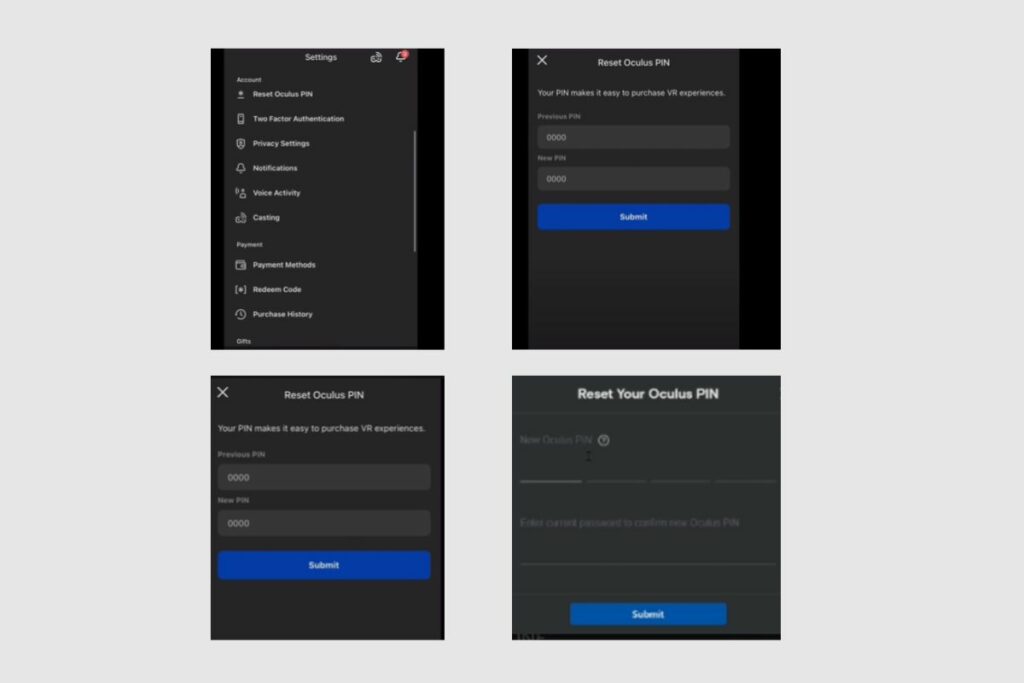
However, just below it, you will see a button that you can click on to reset your Oculus PIN. Once you click on it, you will be redirected to a place where you can input your new PIN, but to change your PIN, you will need to write down your Oculus password as proof that you own the account.
After you have entered your password, you can change your pin to something you will always remember. After that is done, your PIN should have been changed, and you can now use your new pin to pay for games and subscriptions on your account.
Impact of Changing Your Oculus Quest 2 Username
The only significant impact of changing your user name is that your username will be changed on leaderboards in competitive games, VR chatrooms, and some other competitive games where your username is visible, that you will play with your friends. Finally, you will notice a change in your username when you try to log into your Oculus account because your username has been changed.
Conclusion
Changing your Oculus account username is a quick and easy process, especially if you follow my instructions. There’s also information on how to change your pin and password, as well as set up an account for your Oculus Quest 2. Thank you so much for reading this. I hope you found this piece useful and informative. Please feel free to leave all of your questions in the comment section below, and I’ll answer them as soon as possible.

